Deploying ASP.NET Core applications to Azure App service from Bitbucket
August 09, 2023 by Anuraj
Azure DevOps Bitbucket AspNetCore
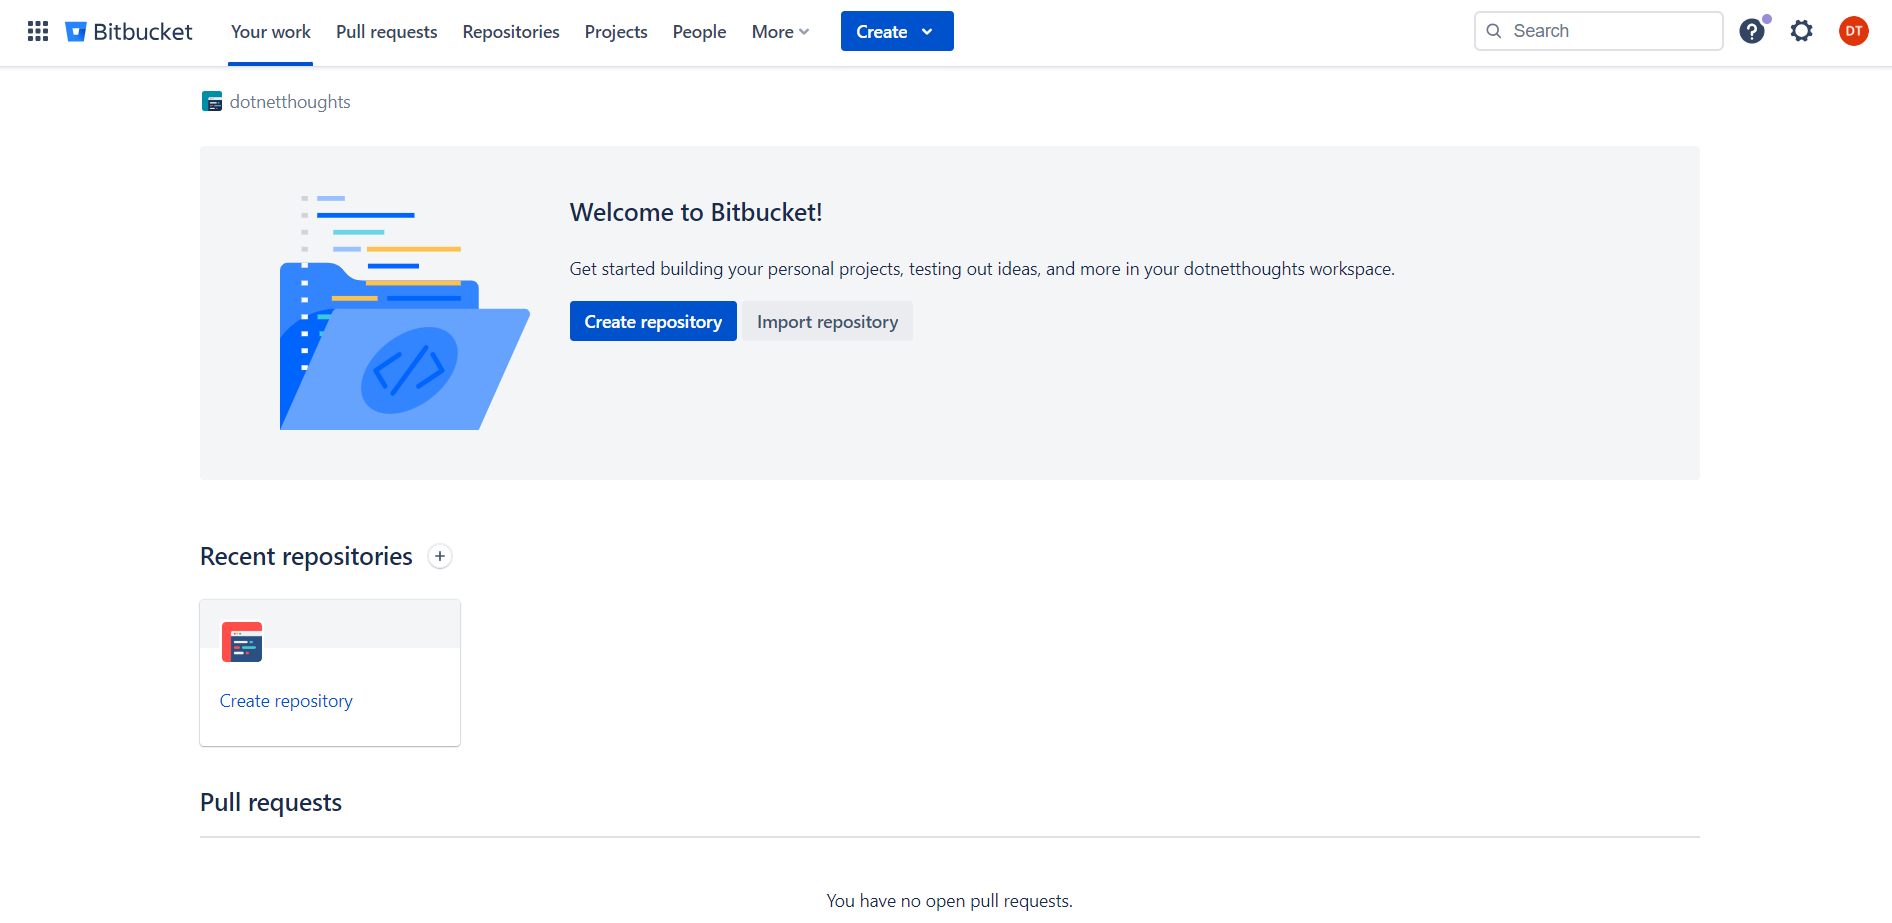
Bitbucket is a Git-based source code repository hosting service owned by Atlassian. Bitbucket offers both commercial plans and free accounts with an unlimited number of private repositories. In this post we will be exploring how to deploy an ASP.NET Core web application to Azure App service from Bitbucket. I already created an account in Bitbucket and after the creation I will be able to see a window like this.
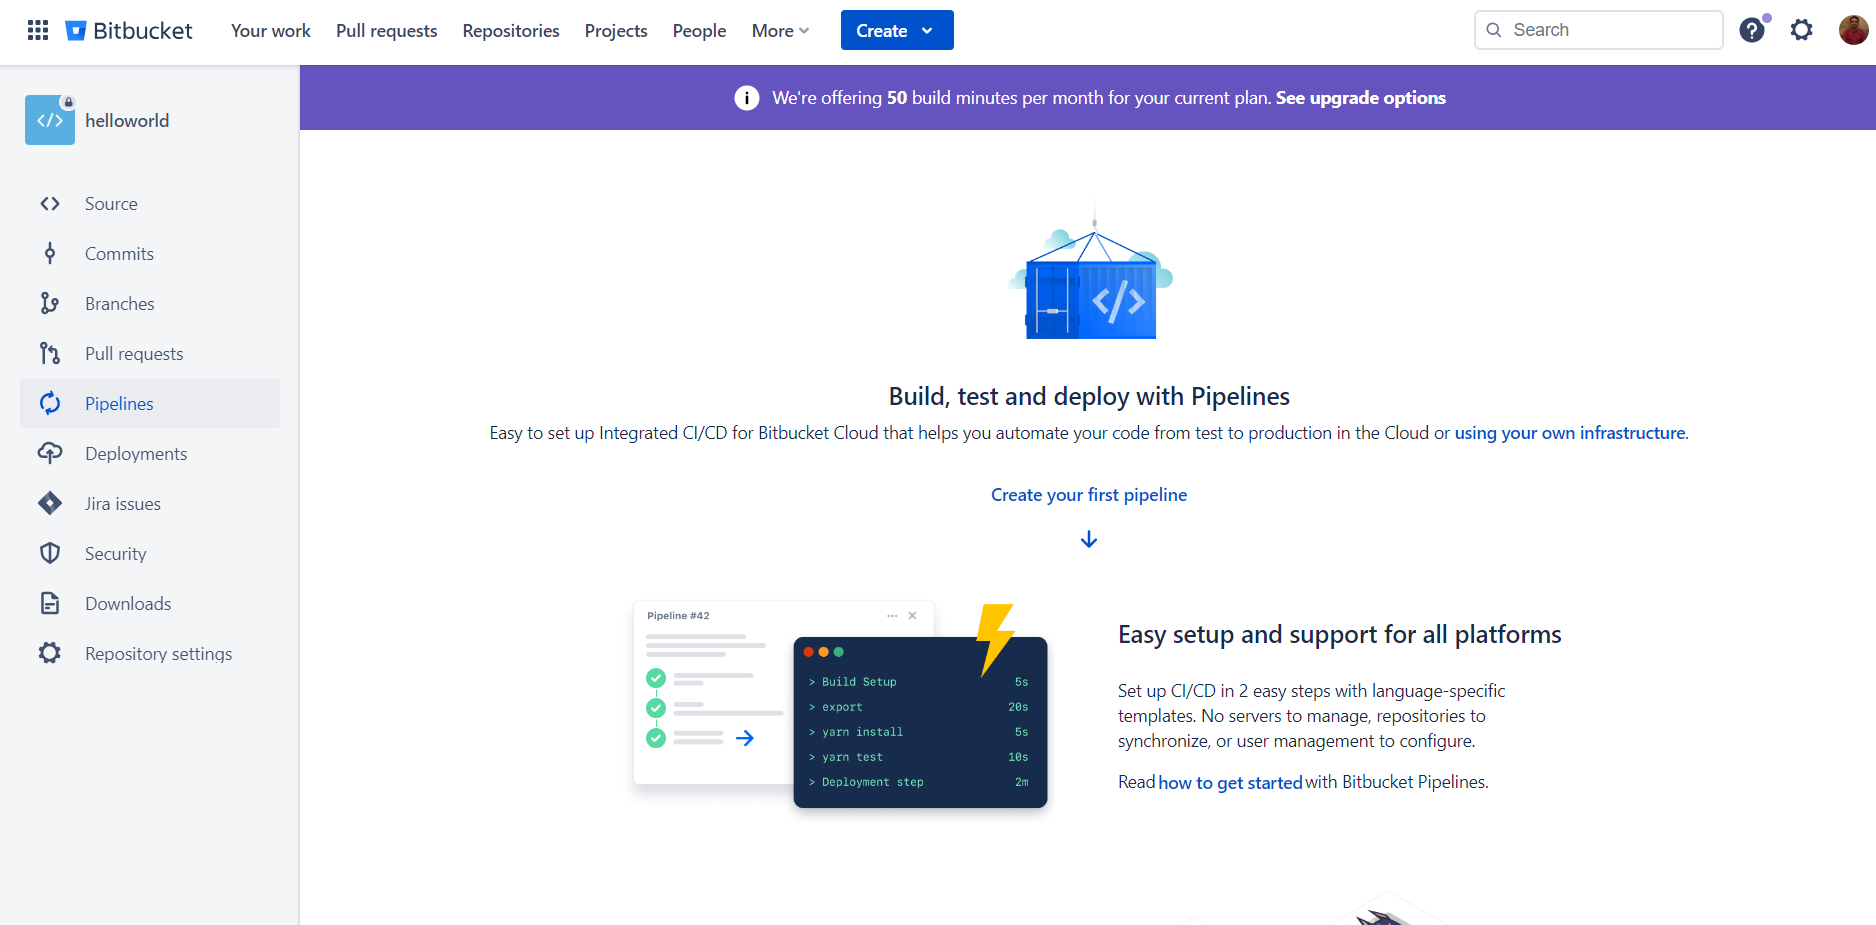
First we will create a repository, with project name and repository name as helloworld and default branch as main. Then we can clone the repository and then add a new ASP.NET Core MVC project. We may need to add a solution file. We can use the dotnet new sln command. And then we can commit the code. Next we can click on the Pipelines menu which will display a page like this.
Click on the Create your first pipeline link, which will display the templates, select the Build and test a .Net code template. It will show the bitbucket-pipelines.yml in editable mode.
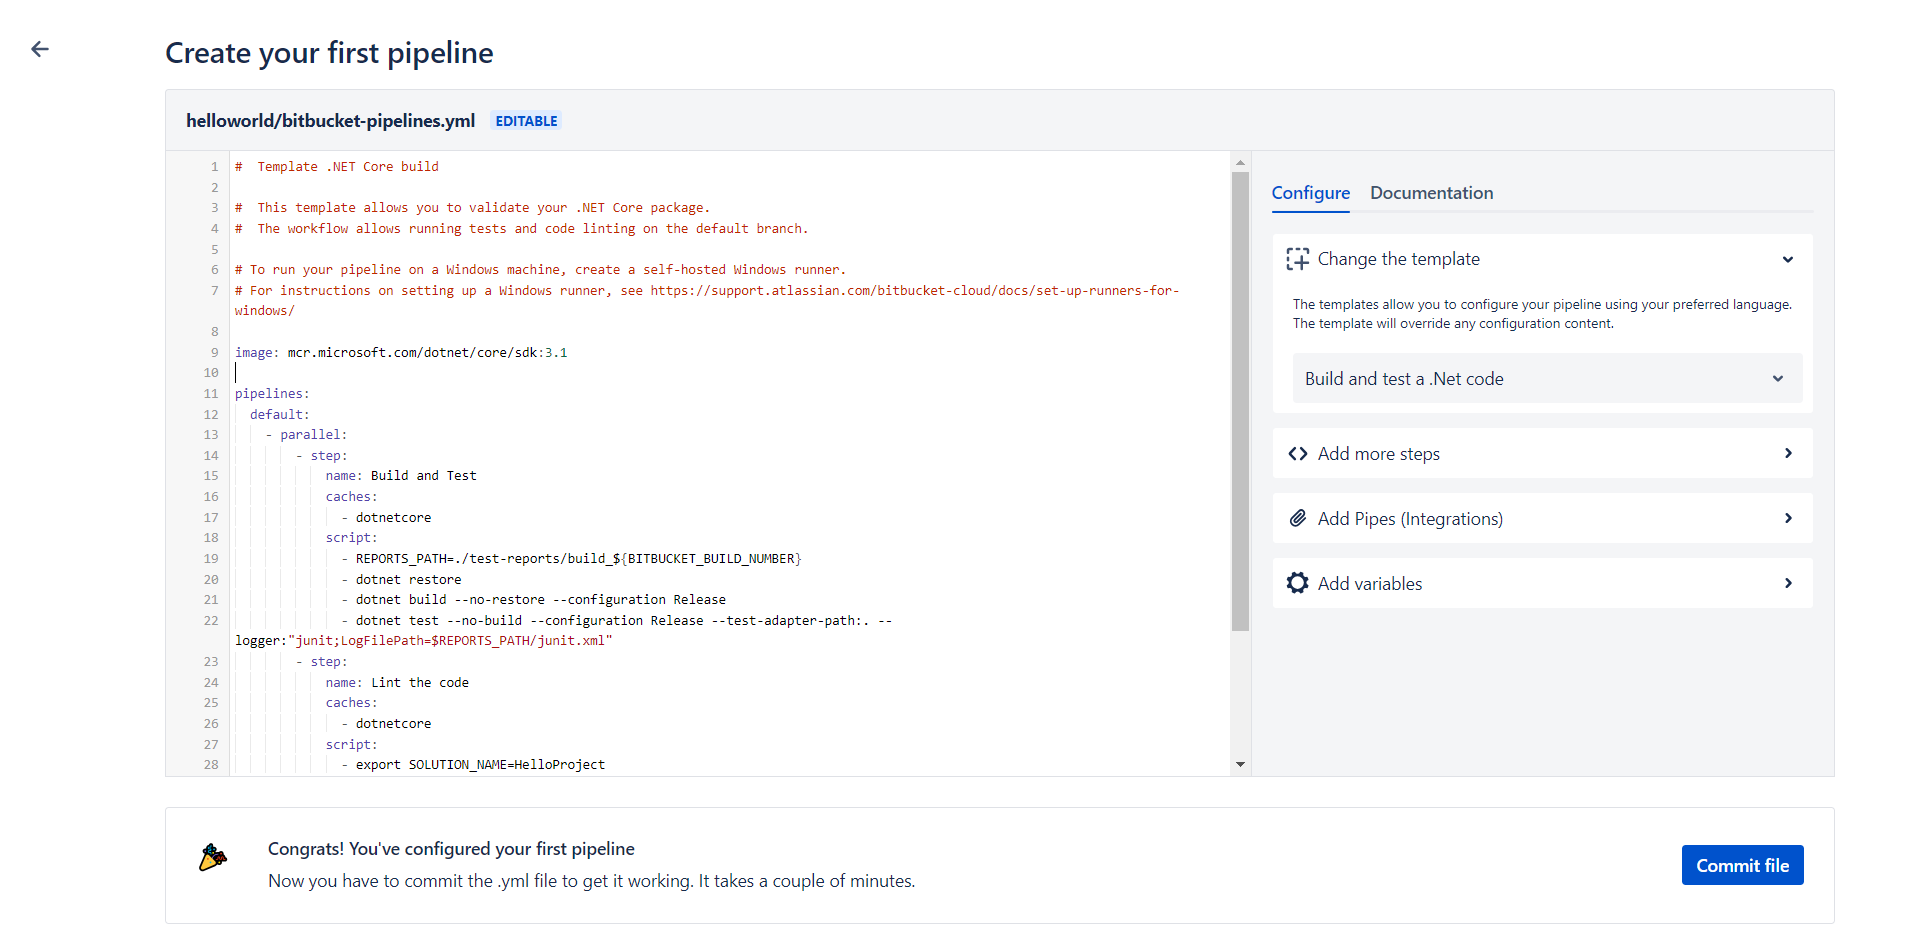
Update the image from .NET 3.1 to .NET 6.0, so use the image:mcr.microsoft.com/devcontainers/dotnet:6.0.Then we can remove the parallel step in the YAML file. We need to SOLUTION_NAME to helloworld and --build parameter for the dotnet jb inspectcode command. Here is the update the YAML file.
image: mcr.microsoft.com/devcontainers/dotnet:6.0
pipelines:
default:
- step:
name: Build and Test
caches:
- dotnetcore
script:
- REPORTS_PATH=./test-reports/build_${BITBUCKET_BUILD_NUMBER}
- dotnet restore
- dotnet build --no-restore --configuration Release
- dotnet test --no-build --configuration Release --test-adapter-path:. --logger:"junit;LogFilePath=$REPORTS_PATH/junit.xml"
- step:
name: Lint the code
caches:
- dotnetcore
script:
- export SOLUTION_NAME=helloworld
- export REPORTS_PATH=linter-reports
- dotnet new tool-manifest
- dotnet tool install JetBrains.ReSharper.GlobalTools
- dotnet tool restore
- dotnet jb inspectcode ${SOLUTION_NAME}.sln --output="${REPORTS_PATH}/jb-${BITBUCKET_BUILD_NUMBER}.xml" --build
artifacts:
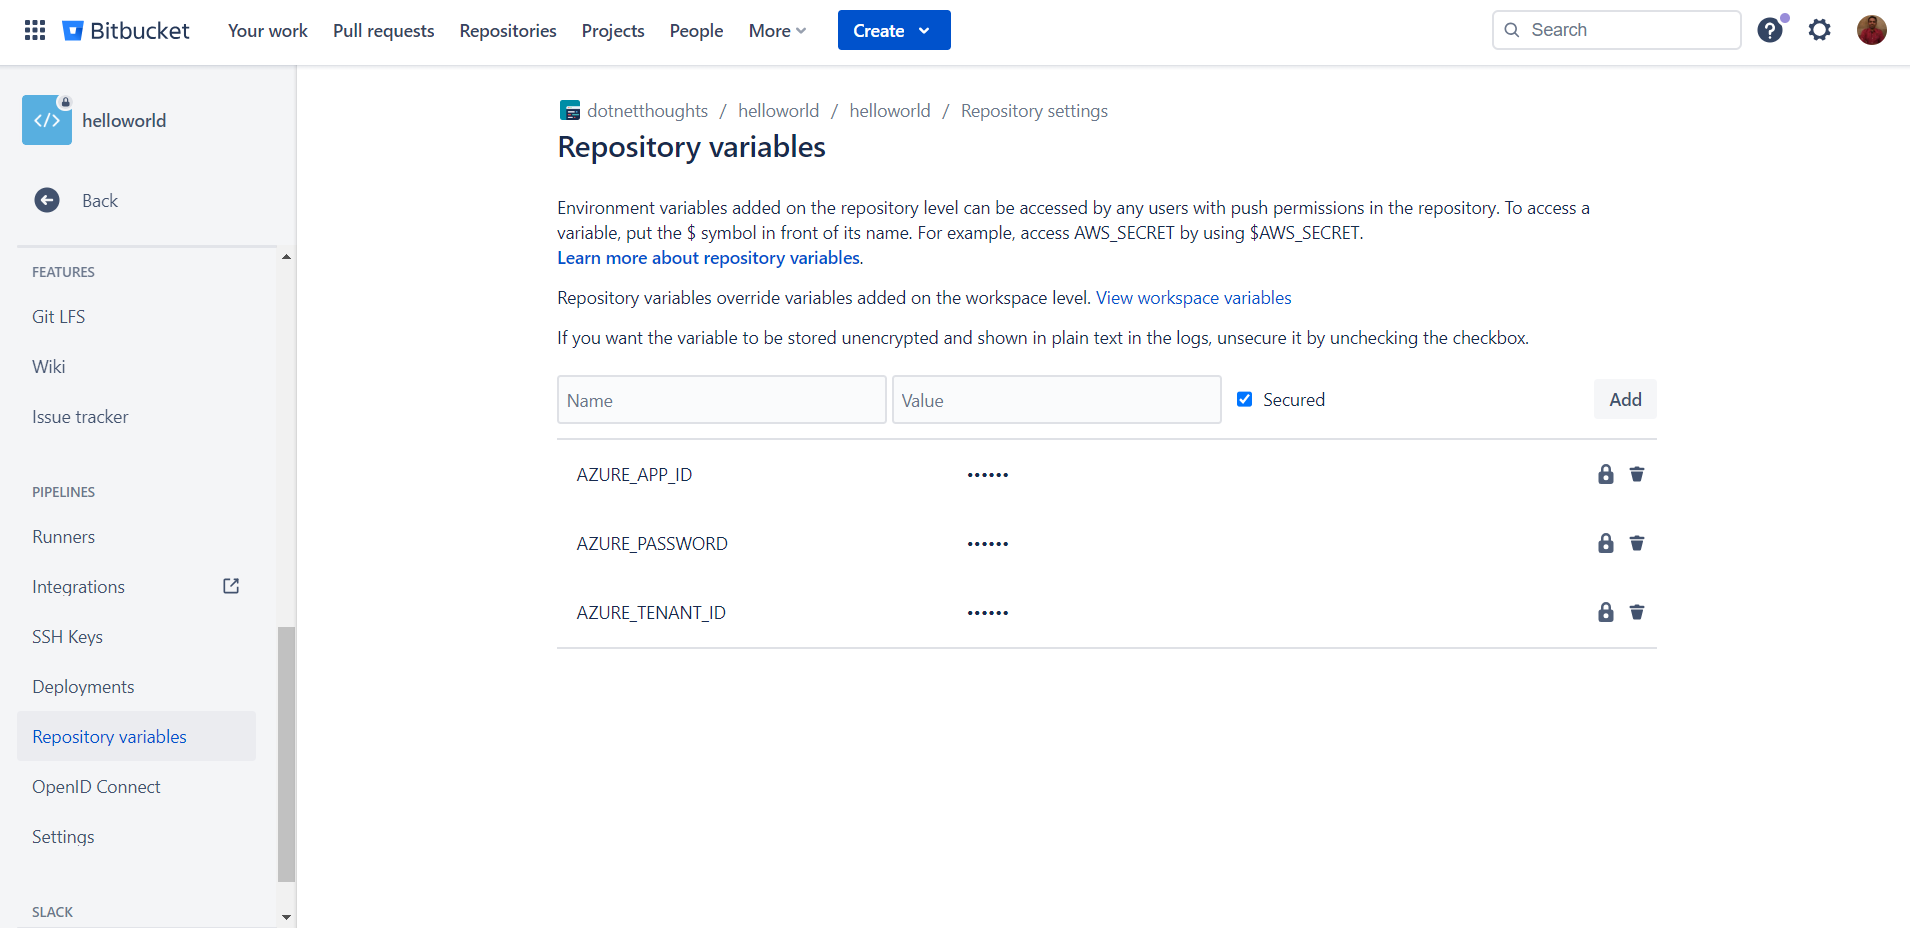
- linter-reports/**Next we need to add the step to deploy the Azure App Service. For deploying we need to zip the files in the Release folder. We can use the zip utility. Next we need to add the Azure Web Deploy step. For deploying to the Azure web app, we need to create service principal. We can do this by running the following command - ` az ad sp create-for-rbac –name bitbucket-sp –role Contributor –scopes /subscriptions/SUBSCRIPTION_ID/resourceGroups/helloworld` - this will create the service principal and display appId, displayName, password and tenant id. We need to set the values as Bitbucket secret variables. We can do it from Repository settings > Repository variables.
Next add the following step and update the bitbucket-pipelines.yml file.
- step:
name: Azure App Service Deployment
script:
- pipe: microsoft/azure-web-apps-deploy:1.0.4
variables:
AZURE_APP_ID: $AZURE_APP_ID
AZURE_PASSWORD: $AZURE_PASSWORD
AZURE_TENANT_ID: $AZURE_TENANT_ID
AZURE_RESOURCE_GROUP: 'helloworld'
AZURE_APP_NAME: 'helloworld-dotnetthoughts'
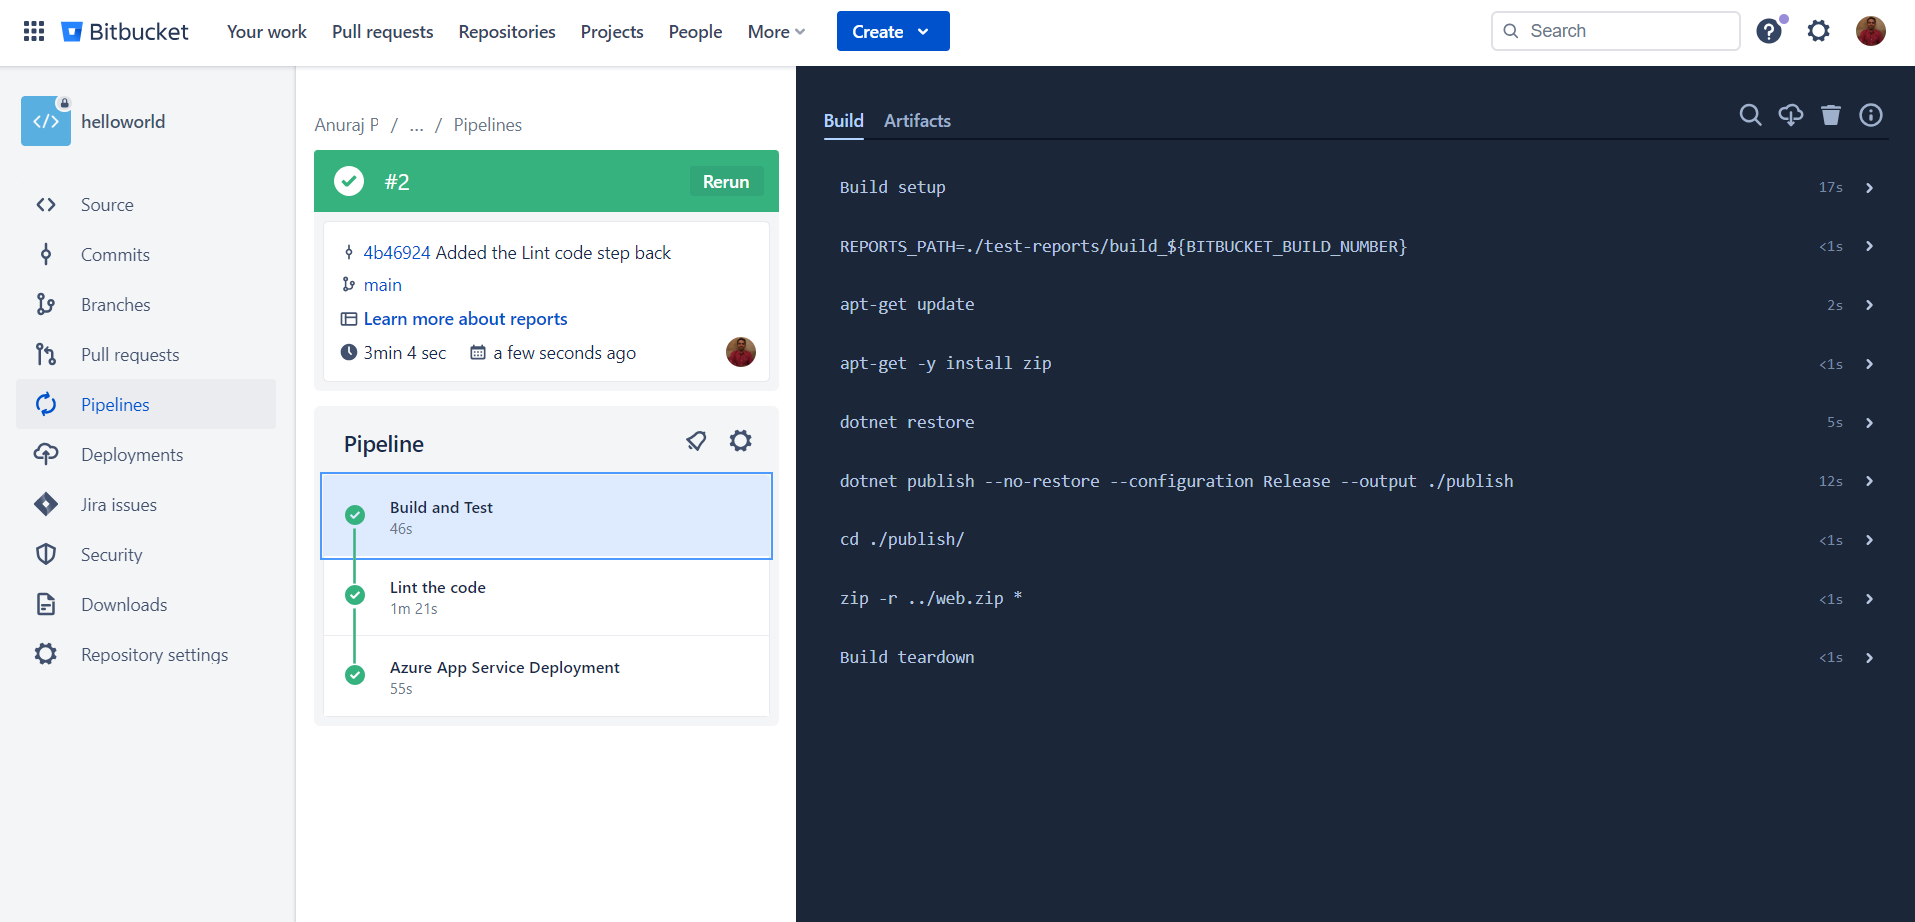
ZIP_FILE: 'web.zip'And we can commit the file. Here is the updated bitbucket-pipelines.yml file. Here is the build pipeline running.
And here is the completed the bitbucket-pipelines.yml file.
image: mcr.microsoft.com/devcontainers/dotnet:6.0

pipelines:
  default:
  - step:
      name: Build and Test
      caches:
        - dotnetcore
      script:
        - REPORTS_PATH=./test-reports/build_${BITBUCKET_BUILD_NUMBER}
        - apt-get update
        - apt-get -y install zip
        - dotnet restore
        - dotnet publish --no-restore --configuration Release --output ./publish
        - cd ./publish/
        - zip -r ../web.zip *
      artifacts:
        - 'web.zip'
  - step:
      name: Lint the code
      caches:
        - dotnetcore
      script:
        - export SOLUTION_NAME=helloworld
        - export REPORTS_PATH=linter-reports
        - dotnet new tool-manifest
        - dotnet tool install JetBrains.ReSharper.GlobalTools
        - dotnet tool restore
        - dotnet jb inspectcode ${SOLUTION_NAME}.sln --output="${REPORTS_PATH}/jb-${BITBUCKET_BUILD_NUMBER}.xml" --build
      artifacts:
        - linter-reports/**
  - step:
      name: Azure App Service Deployment
      script:
        - pipe: microsoft/azure-web-apps-deploy:1.0.4
          variables:
            AZURE_APP_ID: $AZURE_APP_ID
            AZURE_PASSWORD: $AZURE_PASSWORD
            AZURE_TENANT_ID: $AZURE_TENANT_ID
            AZURE_RESOURCE_GROUP: 'helloworld'
            AZURE_APP_NAME: 'helloworld-dotnetthoughts'
            ZIP_FILE: 'web.zip'
This way we can deploy an ASP.NET Core application to Azure App Service using Bitbucket. In the next post we will explore how we can deploy database changes to Azure Sql Server from Bitbucket.
Happy Programming.
Copyright © 2024 Anuraj. Blog content licensed under the Creative Commons CC BY 2.5 | Unless otherwise stated or granted, code samples licensed under the MIT license. This is a personal blog. The opinions expressed here represent my own and not those of my employer. Powered by Jekyll. Hosted with ❤ by GitHub