Deploying Blazor apps to Azure Storage account
January 19, 2020 by Anuraj
Blazor azure aspnetcore
This post is about deploying Blazor apps to Azure Storage account. Blazor lets you build interactive web UIs using C# instead of JavaScript. Blazor supports two variations - Blazor Server is supported in ASP.NET Core 3.0. Blazor WebAssembly is in preview for ASP.NET Core 3.1.
For Blazor server is using ASP.NET Core SignalR and IIS or any other server. For WebAssembly you don’t need any servers. So first we need to install Blazor WebAssembly template.
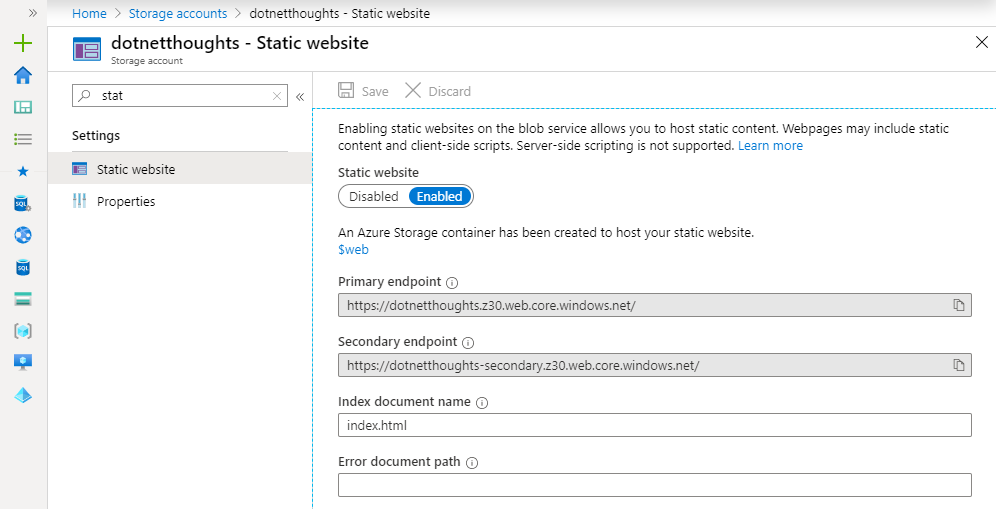
You can install the template using following command - dotnet new -i Microsoft.AspNetCore.Blazor.Templates::3.1.0-preview4.19579.2. Next you can create Blazor WebAssembly project using following command - dotnet new blazorwasm -o BlazorApp1. Next you can build the app using dotnet publish -c Release command. Next you need to create a storage account - StorageV2 (general purpose v2). Then you need to enable the Static Website option.

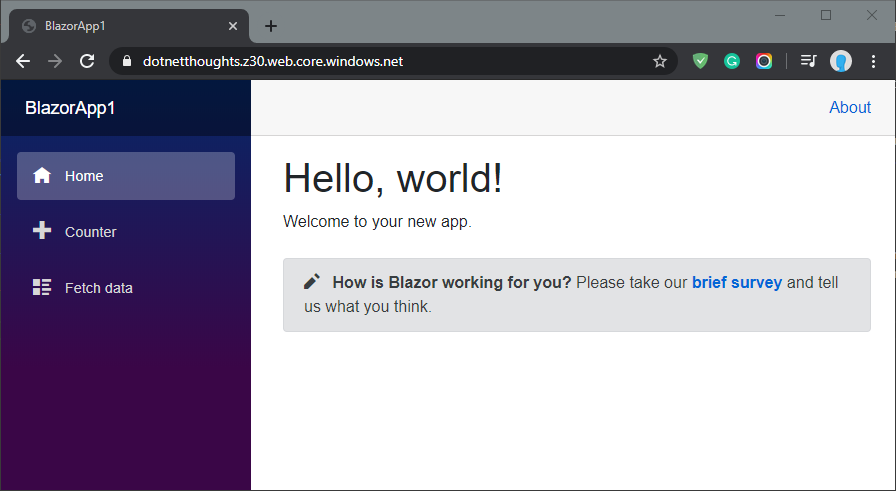
Once enabled, you can configure the index document name and error document path. For deploying the Blazor app, copy the files and folders from dist directory under bin\Release folder to the $web container in the Storage Account - this container will be created when you enable the static website option.

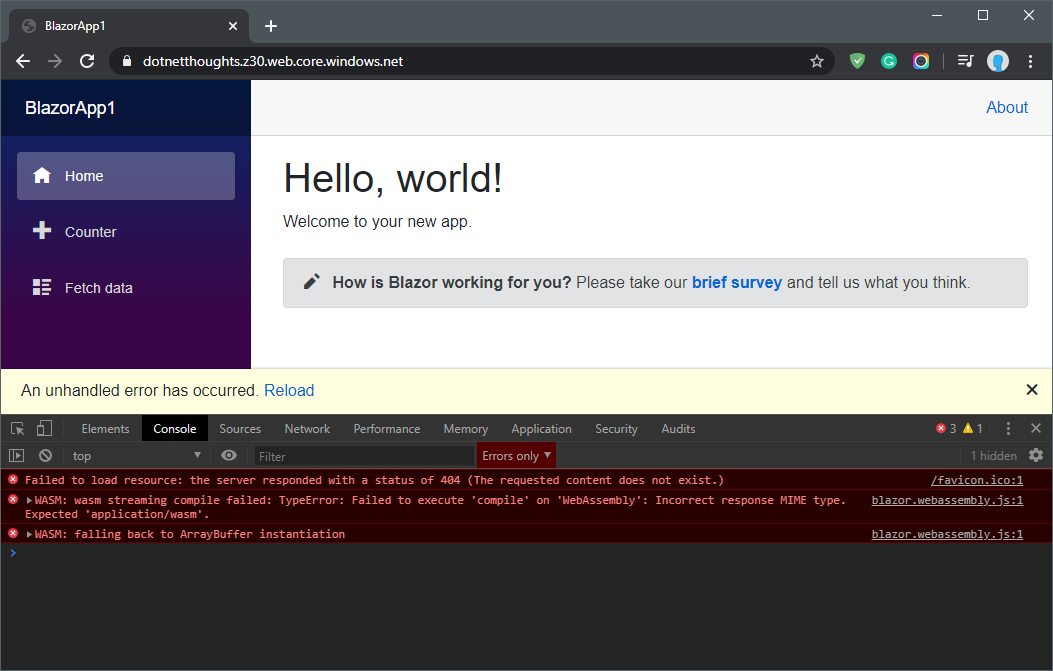
While running the application, if you see any error like this.

It is because of the content type of the mono.wasm file is not application/wasm. So you need to modify the Content type property of mono.wasm file to application/wasm.
You can improve the performance of the app by configuring CDN endpoint for Azure Storage account. You can also create backend for Blazor app using Azure Functions.
Happy Programming :)
Found this useful? Share it with your network!
Copyright © 2026 Anuraj. Blog content licensed under the Creative Commons CC BY 2.5 | Unless otherwise stated or granted, code samples licensed under the MIT license. This is a personal blog. The opinions expressed here represent my own and not those of my employer. Powered by Jekyll. Hosted with ❤ by GitHub
