Deployment of a Bot application
September 02, 2016 by Anuraj
C# ASP.NET Bot Framework
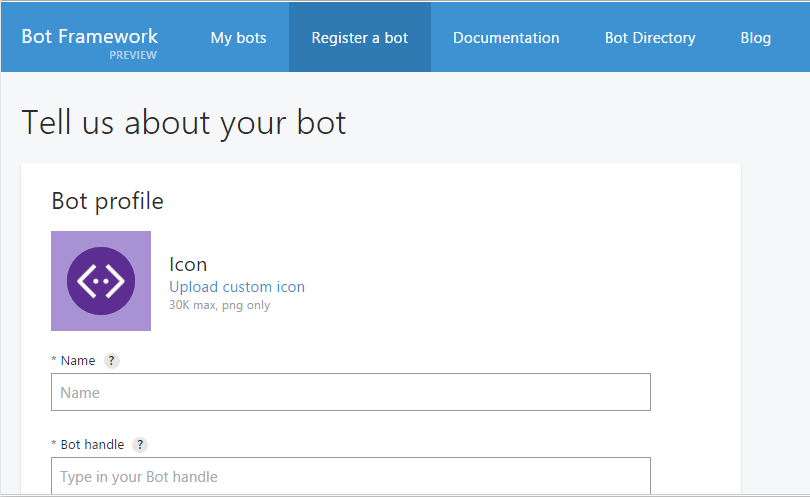
This post is about how to deploy your Bot Application. For deployment you require Bot Id and Microsoft App Id. Both Ids can be created from Bot Framework portal, which can be accessed from http://dev.botframework.com. Once you register / sign in, you can create a new Bot from the Register a Bot menu. You need to set the Messaging endpoint to an HTTPS URL. While creating your bot, you can provide some https url here, which you can change later once you deploy the Bot.

I modified the Bot code, instead of simple echo bot, I modified the code to display weather information about the given city. I am using the “openweathermap.org” API for this purpose. Here is the code.
public virtual async Task<HttpResponseMessage> Post([FromBody] Activity activity)
{
if (activity != null)
{
switch (activity.GetActivityType())
{
case ActivityTypes.Message:
ConnectorClient connector = new ConnectorClient(new Uri(activity.ServiceUrl));
var isTypingReply = activity.CreateReply();
isTypingReply.Type = ActivityTypes.Typing;
await connector.Conversations.ReplyToActivityAsync(isTypingReply);
var reply = activity.CreateReply();
reply.Type = ActivityTypes.Message;
var weatherJson = await GetWeather(activity.Text);
var weatherJsonObject = JObject.Parse(weatherJson);
var icon = weatherJsonObject["weather"][0]["icon"];
var responseMessage = $"### Weather in { weatherJsonObject["name"] },{ weatherJsonObject["sys"]["country"] }" + Environment.NewLine;
responseMessage += $"#### Temperature { weatherJsonObject["main"]["temp"] }" + Environment.NewLine;
responseMessage += $"" + Environment.NewLine;
responseMessage += $"#### Humidity { weatherJsonObject["main"]["humidity"] }" + Environment.NewLine;
reply.Text = responseMessage;
await connector.Conversations.ReplyToActivityAsync(reply);
break;
case ActivityTypes.Typing:
case ActivityTypes.ConversationUpdate:
case ActivityTypes.ContactRelationUpdate:
case ActivityTypes.DeleteUserData:
default:
Trace.TraceError($"Unknown activity type ignored: {activity.GetActivityType()}");
break;
}
}
return new HttpResponseMessage(HttpStatusCode.Accepted);
}
private async Task<string> GetWeather(string city)
{
using (var webClient = new WebClient())
{
var url = $"http://api.openweathermap.org/data/2.5/weather?q={city}&APPID={ApiId}&mode=json&units=metric";
return await webClient.DownloadStringTaskAsync(url);
}
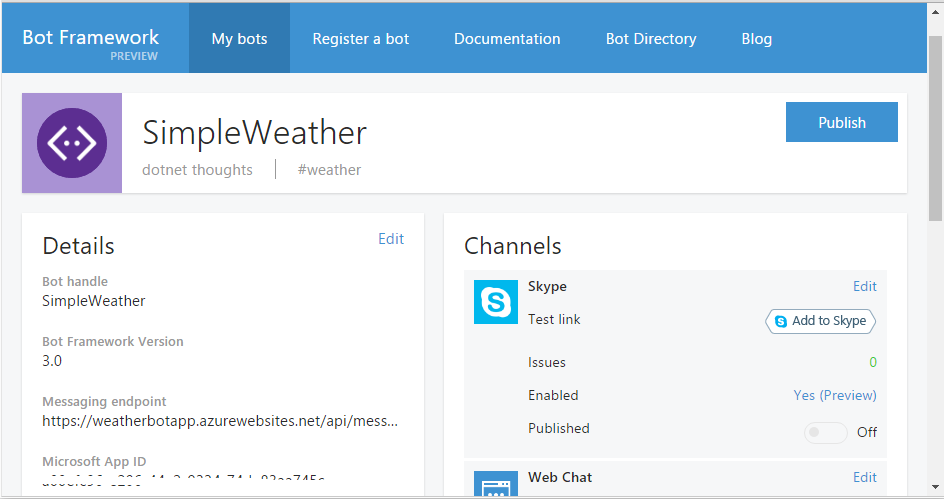
}Once you create the Bot App in the portal, get the BotId, MicrosoftAppID and MicrosoftAppPassword, which need to be set in the web.config of the application.

Also you need to set the Bot Authentication attribute to the MessagesController class, this attribute will help you to secure your bot, this endpoint can only accessed from Bot Connector.
In the web.config file, under appsettings.
<add key="BotId" value="YOUR_BOT_ID"/>
<add key="MicrosoftAppID" value="YOUR_APP_ID"/>
<add key="MicrosoftAppPassword" value="YOUR_APP_PASSWORD"/>
In the controller class.
[BotAuthentication()]
public class MessagesController : ApiController
{
}
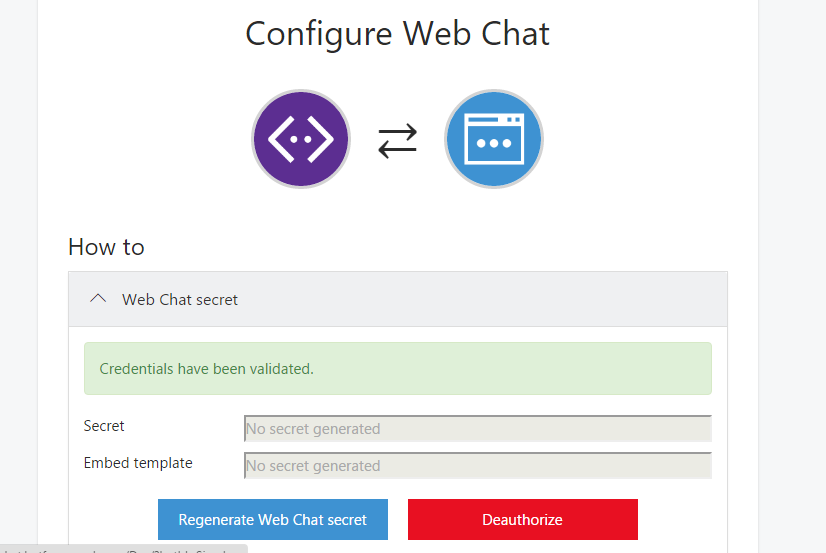
I prefer to use Azure Web app service to host your Bot. So you can use Web app’s HTTPS URL instead of using your own certificate. You can host it on any other platforms which supports ASP.NET Web API hosting. Now you can publish the application. Once you publish the app, you can test it using the Test option in the Bot Page, which will return a message like “Accepted”. You can embed the Bot in your HTML page using Web Chat integration. Click on the Edit button in the Web Chat under the Channels, and click on “Regenerate Web Chat secret” button.

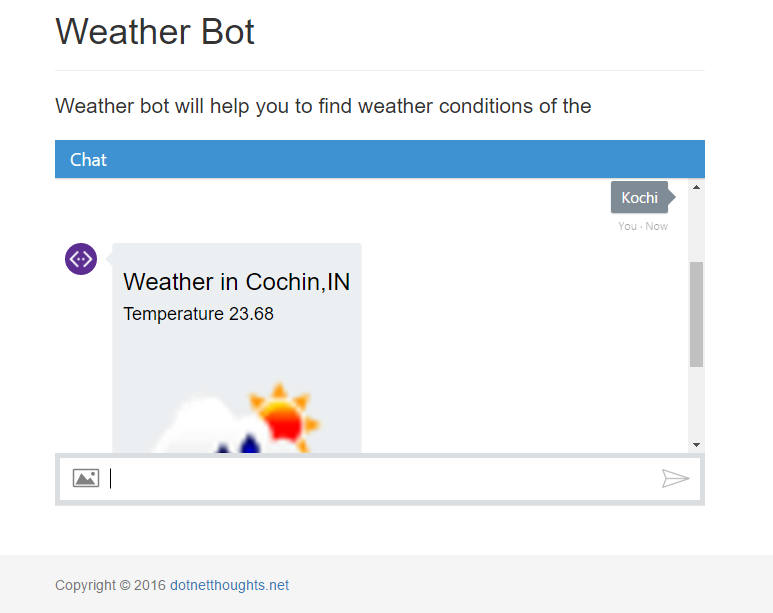
And once it is completed, you can copy HTML code from the “Embed template” textbox, and set the Secret in the placeholder. If you have used an ASP.NET MVC app, you can put it in the Index page and upload it again. You can see the demo of the weather bot here. And here is the screenshot of the same.

Found this useful? Share it with your network!
Copyright © 2026 Anuraj. Blog content licensed under the Creative Commons CC BY 2.5 | Unless otherwise stated or granted, code samples licensed under the MIT license. This is a personal blog. The opinions expressed here represent my own and not those of my employer. Powered by Jekyll. Hosted with ❤ by GitHub
