Implementing Basic Authentication in ASP.NET Core Minimal API
February 13, 2022 by Anuraj
AspNetCore C# MinimalApi
This post is about how implement basic authentication in ASP.NET Core Minimal API. Few days back I got a question / comment in the blog post about Minimal APIs - about implementing Basic authentication in Minimal APIs. Since the Action Filters support is not available in Minimal API I had to find some alternative approach for the implementation. I already wrote two blog posts Basic authentication middleware for ASP.NET 5 and Basic HTTP authentication in ASP.Net Web API on implementing Basic authentication. In this post I am implementing an AuthenticationHandler and using this for implementing basic authentication. As I already explained enough about the concepts, I am not discussing them again in this post.
Here is the implementation of the BasicAuthenticationHandler which implements the abstract class AuthenticationHandler.
public class BasicAuthenticationHandler : AuthenticationHandler<AuthenticationSchemeOptions>
{
    public BasicAuthenticationHandler(
        IOptionsMonitor<AuthenticationSchemeOptions> options,
        ILoggerFactory logger,
        UrlEncoder encoder,
        ISystemClock clock
        ) : base(options, logger, encoder, clock)
    {
    }

    protected override Task<AuthenticateResult> HandleAuthenticateAsync()
    {
        var authHeader = Request.Headers["Authorization"].ToString();
        if (authHeader != null && authHeader.StartsWith("basic", StringComparison.OrdinalIgnoreCase))
        {
            var token = authHeader.Substring("Basic ".Length).Trim();
            System.Console.WriteLine(token);
            var credentialstring = Encoding.UTF8.GetString(Convert.FromBase64String(token));
            var credentials = credentialstring.Split(':');
            if (credentials[0] == "admin" && credentials[1] == "admin")
            {
                var claims = new[] { new Claim("name", credentials[0]), new Claim(ClaimTypes.Role, "Admin") };
                var identity = new ClaimsIdentity(claims, "Basic");
                var claimsPrincipal = new ClaimsPrincipal(identity);
                return Task.FromResult(AuthenticateResult.Success(new AuthenticationTicket(claimsPrincipal, Scheme.Name)));
            }

            Response.StatusCode = 401;
            Response.Headers.Add("WWW-Authenticate", "Basic realm=\"dotnetthoughts.net\"");
            return Task.FromResult(AuthenticateResult.Fail("Invalid Authorization Header"));
        }
        else
        {
            Response.StatusCode = 401;
            Response.Headers.Add("WWW-Authenticate", "Basic realm=\"dotnetthoughts.net\"");
            return Task.FromResult(AuthenticateResult.Fail("Invalid Authorization Header"));
        }
    }
}
Next modify the Program.cs like this.
var builder = WebApplication.CreateBuilder(args);

// Add services to the container.
// Learn more about configuring Swagger/OpenAPI at https://aka.ms/aspnetcore/swashbuckle
builder.Services.AddEndpointsApiExplorer();
builder.Services.AddSwaggerGen();
builder.Services.AddAuthentication("BasicAuthentication")
                .AddScheme<AuthenticationSchemeOptions, BasicAuthenticationHandler>
                ("BasicAuthentication", null);
builder.Services.AddAuthorization();

var app = builder.Build();

// Configure the HTTP request pipeline.
if (app.Environment.IsDevelopment())
{
    app.UseSwagger();
    app.UseSwaggerUI();
}
app.UseAuthentication();
app.UseAuthorization();

app.UseHttpsRedirection();
Now it is done. You can enable block the anonymous access by adding the authorize attribute to the method like this.
app.MapGet("/weatherforecast", [Authorize]() =>
{
var forecast = Enumerable.Range(1, 5).Select(index =>
new WeatherForecast
(
DateTime.Now.AddDays(index),
Random.Shared.Next(-20, 55),
summaries[Random.Shared.Next(summaries.Length)]
))
.ToArray();
return forecast;
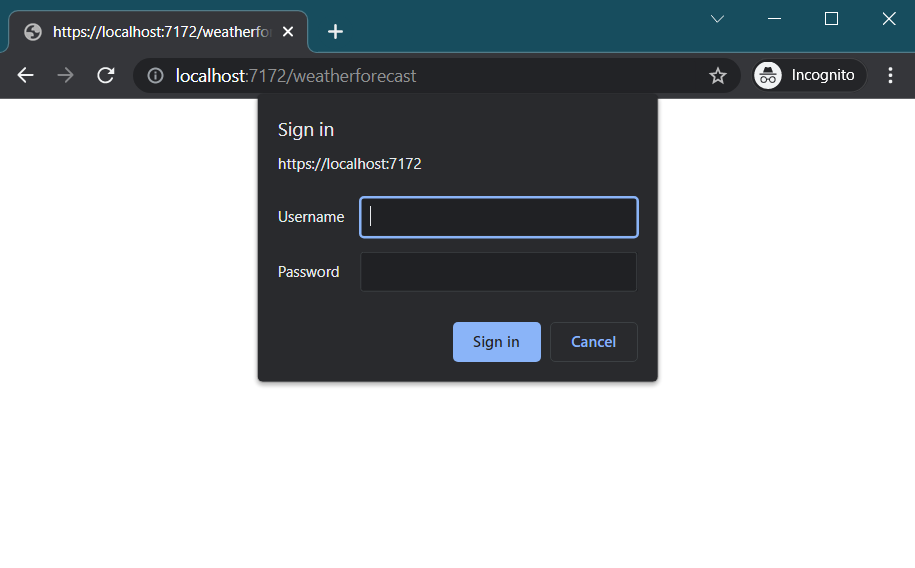
}).WithName("GetWeatherForecast");Now if you browse the Weather forecast endpoint - https://localhost:5001/weatherforecast, it will prompt for user name and password. Here is the screenshot of the app running on my machine.
Happy Programming :)
If you find my content helpful, consider supporting my work. Your support helps me continue creating valuable resources for the community.

Found this useful? Share it with your network!
Copyright © 2026 Anuraj. Blog content licensed under the Creative Commons CC BY 2.5 | Unless otherwise stated or granted, code samples licensed under the MIT license. This is a personal blog. The opinions expressed here represent my own and not those of my employer. Powered by Jekyll. Hosted with ❤ by GitHub