Write your first GitHub action - Part 3
September 01, 2019 by Anuraj
CI GitHub Actions ASPNET Core
In the last post we learned about deploying a NuGet package to nuget.org using dotnet nuget push command. In this post, we will learn how to deploy an ASP.NET Core Web API application to Azure App Service.
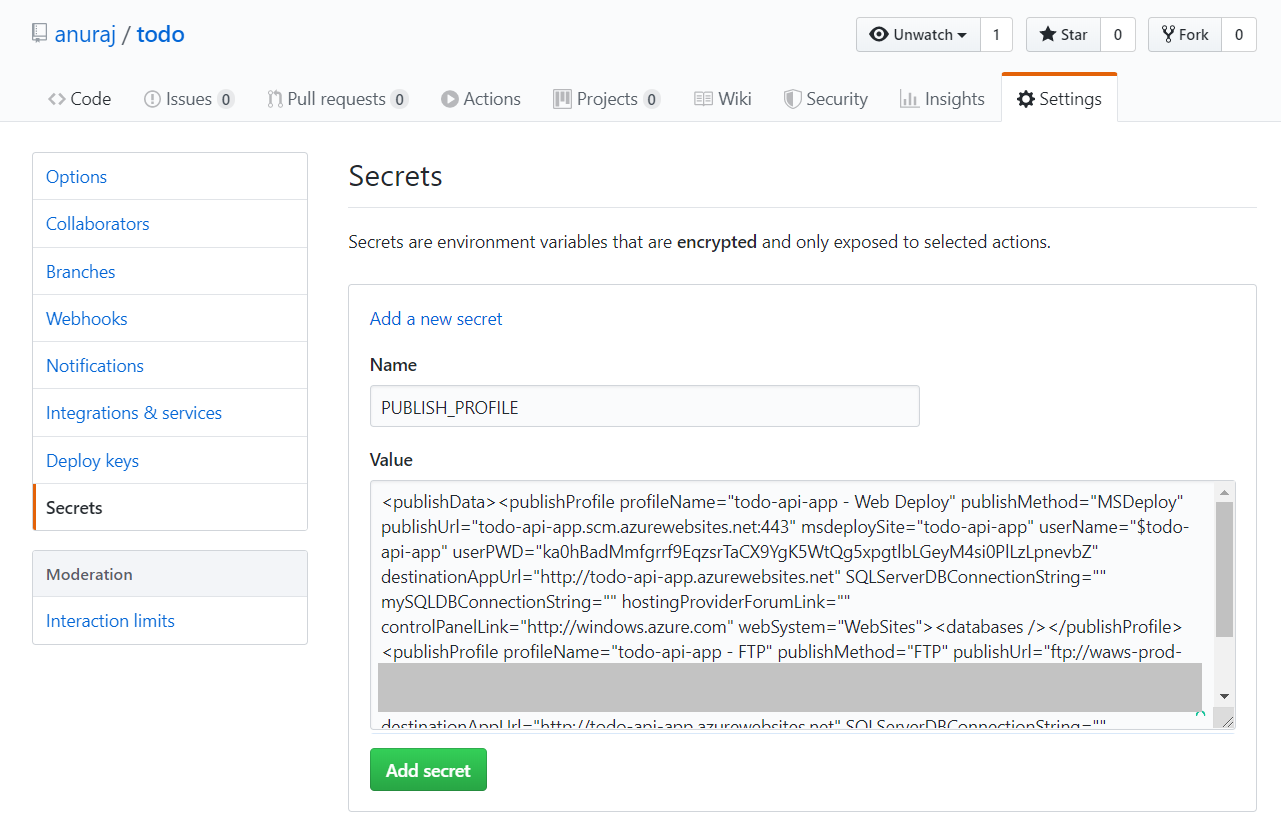
For deploying web apps to Azure App services, Microsoft introduced an Action, we can get it from App Service actions repository. If we open the Action.yml file, you will be able to see, it requires 3 parameters - publish-profile - app service publish settings file, app-name and package to deploy. Since publish settings file contains sensitive information, we need to use the GitHub secrets feature. Adding publish settings file to GitHub secrets is straight forward. Open the publish settings file, copy the contents to the GitHub secrets value textbox.

Next we need to modify the our action and include few steps to publish the code and deploy code to Azure. I am using dotnet publish command to publish the project and for deploying I am using Azure App service action from Microsoft. You can use it like following.
- name: Deploy to Azure
  uses: azure/appservice-actions/webapp@master
  with:
    app-name: todo-api-app
    publish-profile: $
    package: /home/runner/work/todo/todo/src/TodoApi/todoapi-output/
And here is the final workflow.
name: ASP.NET Core CI

on: [push]

jobs:
  build:

    runs-on: ubuntu-latest

    steps:
    - uses: actions/checkout@v1
    - name: Setup .NET Core
      uses: actions/setup-dotnet@v1
      with:
        dotnet-version: 2.2.108
    - name: Build with dotnet
      run: dotnet build --configuration Release
    - name: Running MS Tests with Test Coverage
      run: dotnet test /p:CollectCoverage=true
    - name: Publishing the API Web
      run: dotnet publish --configuration Release --output ./todoapi-output /home/runner/work/todo/todo/src/TodoApi/TodoApi.csproj
    - name: Deploy to Azure
      uses: azure/appservice-actions/webapp@master
      with:
        app-name: todo-api-app
        publish-profile: $
        package: /home/runner/work/todo/todo/src/TodoApi/todoapi-output/
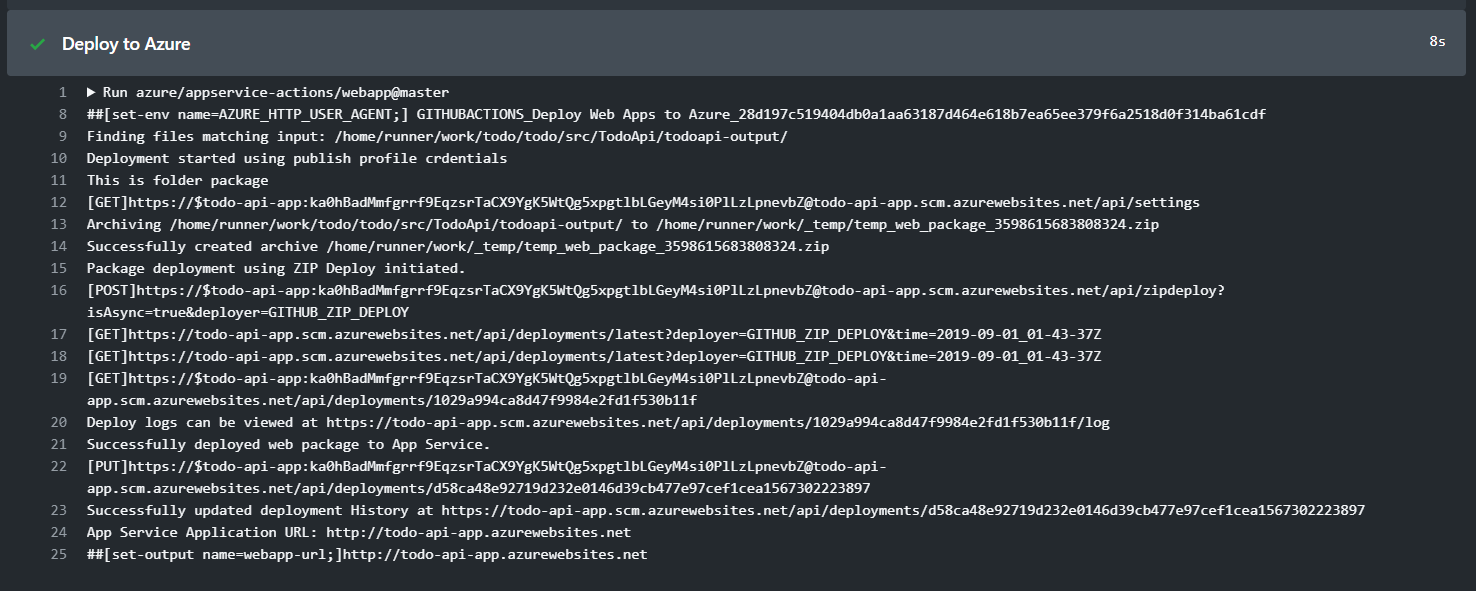
It is a todo API application with Open API and Unit Tests. Here is the screenshot of deployment step.

In this post we updated our build script and included steps to deploy the ASP.NET Core Web API application to Azure.
Bonus Tip
You can include the build status badge using the following code.

You can update the README.md file with the above code, which will display the build action badge for your repository, you can find more details about this feature here
Happy Programming :)
Found this useful? Share it with your network!
Copyright © 2026 Anuraj. Blog content licensed under the Creative Commons CC BY 2.5 | Unless otherwise stated or granted, code samples licensed under the MIT license. This is a personal blog. The opinions expressed here represent my own and not those of my employer. Powered by Jekyll. Hosted with ❤ by GitHub
