Working with Angular applications with .NET Aspire
March 22, 2024 by Anuraj
AspNetCore Aspire CloudNative Angular
In this blog post, we’ll explore how we can work with Angular applications with .NET Aspire. We can install .NET Aspire using the dotnet workload install aspire command. Next we can create the .NET Aspire application using the following command - dotnet new aspire --name Weatherforecast --output Src. This command will create two projects - Weatherforecast.AppHost and Weatherforecast.ServiceDefaults. Next we can add the API application, for creating the API application, we can create ASP.NET Core Minimal API, with the command dotnet new webapi --name Weatherforecast.Api --output Src\Weatherforecast.Api. We may need to modify the solution file and add the API application with the command - dotnet sln add .\Weatherforecast.Api\, otherwise it may not load in VS Code.
To associate the API service to Aspire project, we need to add the project reference of API project to Weatherforecast.AppHost project with the command - dotnet add .\Src\Weatherforecast.AppHost\ reference .\Src\Weatherforecast.Api\ and add project reference of Weatherforecast.ServiceDefaults to the API application - dotnet add .\Src\Weatherforecast.Api\ reference .\Src\Weatherforecast.ServiceDefaults\.
To complete the configuration, modify the Program.cs file in the Weatherforecast.AppHost project like this.
using Projects;

var builder = DistributedApplication.CreateBuilder(args);

var api = builder.AddProject<Weatherforecast_Api>("api");

builder.Build().Run();
Next we need to modify the Weatherforecast.Api project, Program.cs and include the builder.AddServiceDefaults(); statement, like this.
var builder = WebApplication.CreateBuilder(args);
builder.AddServiceDefaults();
builder.Services.AddEndpointsApiExplorer();
builder.Services.AddSwaggerGen();
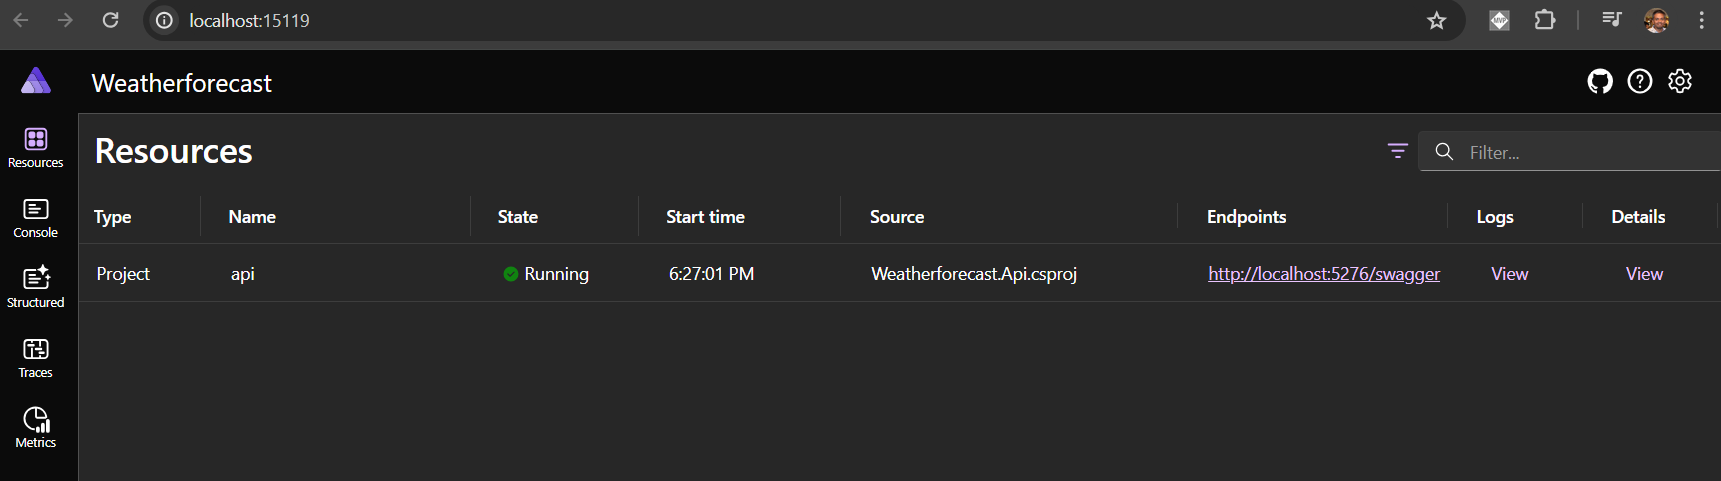
var app = builder.Build();Now we are ready to run the application with the command - dotnet run --project .\Weatherforecast.AppHost\ and verify API application is displaying in the Aspire Dashboard.
Here is the screenshot of the Aspire Dashboard.
Next we will create the Angular project using ng new Weatherforecast.Web command, we need to create the Angular project inside the Src directory. I am using CSS as the stylesheet format and not using server side rendering option. And to associate the Angular project to the Aspire, we need to modify the Program.cs file in the Weatherforecast.AppHost like this.
using Projects;
var builder = DistributedApplication.CreateBuilder(args);
var api = builder.AddProject<Weatherforecast_Api>("api");
var web = builder.AddNpmApp("web", "../Weatherforecast.Web")
.WithReference(api)
.WithEndpoint(containerPort: 3000, scheme: "http", env: "PORT")
.PublishAsDockerFile();
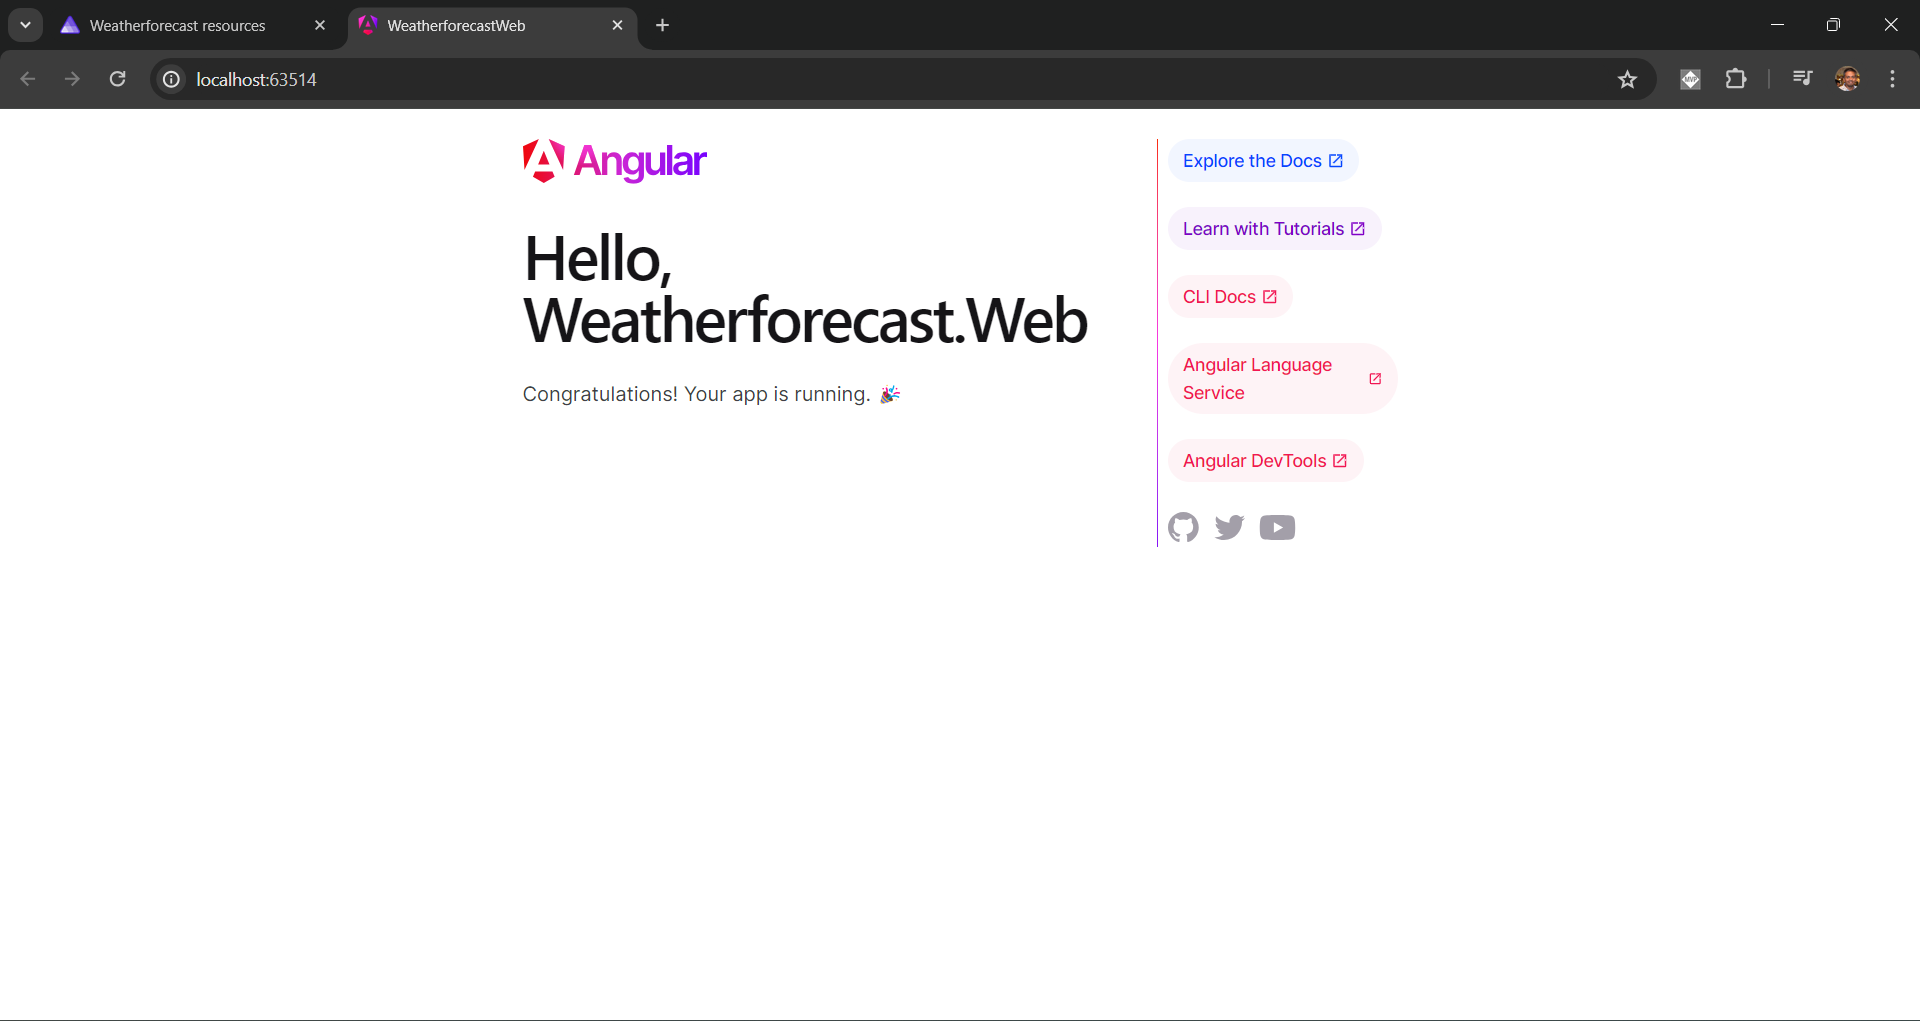
builder.Build().Run();If you’re using a different project structure, modify the code like that. Now we can run the application with the dotnet run --project .\Weatherforecast.AppHost\ command and verify the web app displayed in the resources. It may not the application when browsing the application. It is because the port assignment is not configured with the Angular application. To configure it, we need to install one angular package run-script-os - using the command -npm install run-script-os --save-dev and modify the package.json file, scripts section like this.
"scripts": {
    "ng": "ng",
    "start": "run-script-os",
    "start:win32": "ng serve --port %PORT%",
    "start:default": "ng serve --port $PORT",
    "build": "ng build",
    "watch": "ng build --watch --configuration development",
    "test": "ng test"
}
Now run the Aspire application again and browse the web application, we will be able to see the application running, like this.
Finally to access the web API, we need to configure proxy.conf.js, we can add the following file in the Angular application root. We can get the API endpoint URL from the details of the Web resource in Aspire Dashboard.
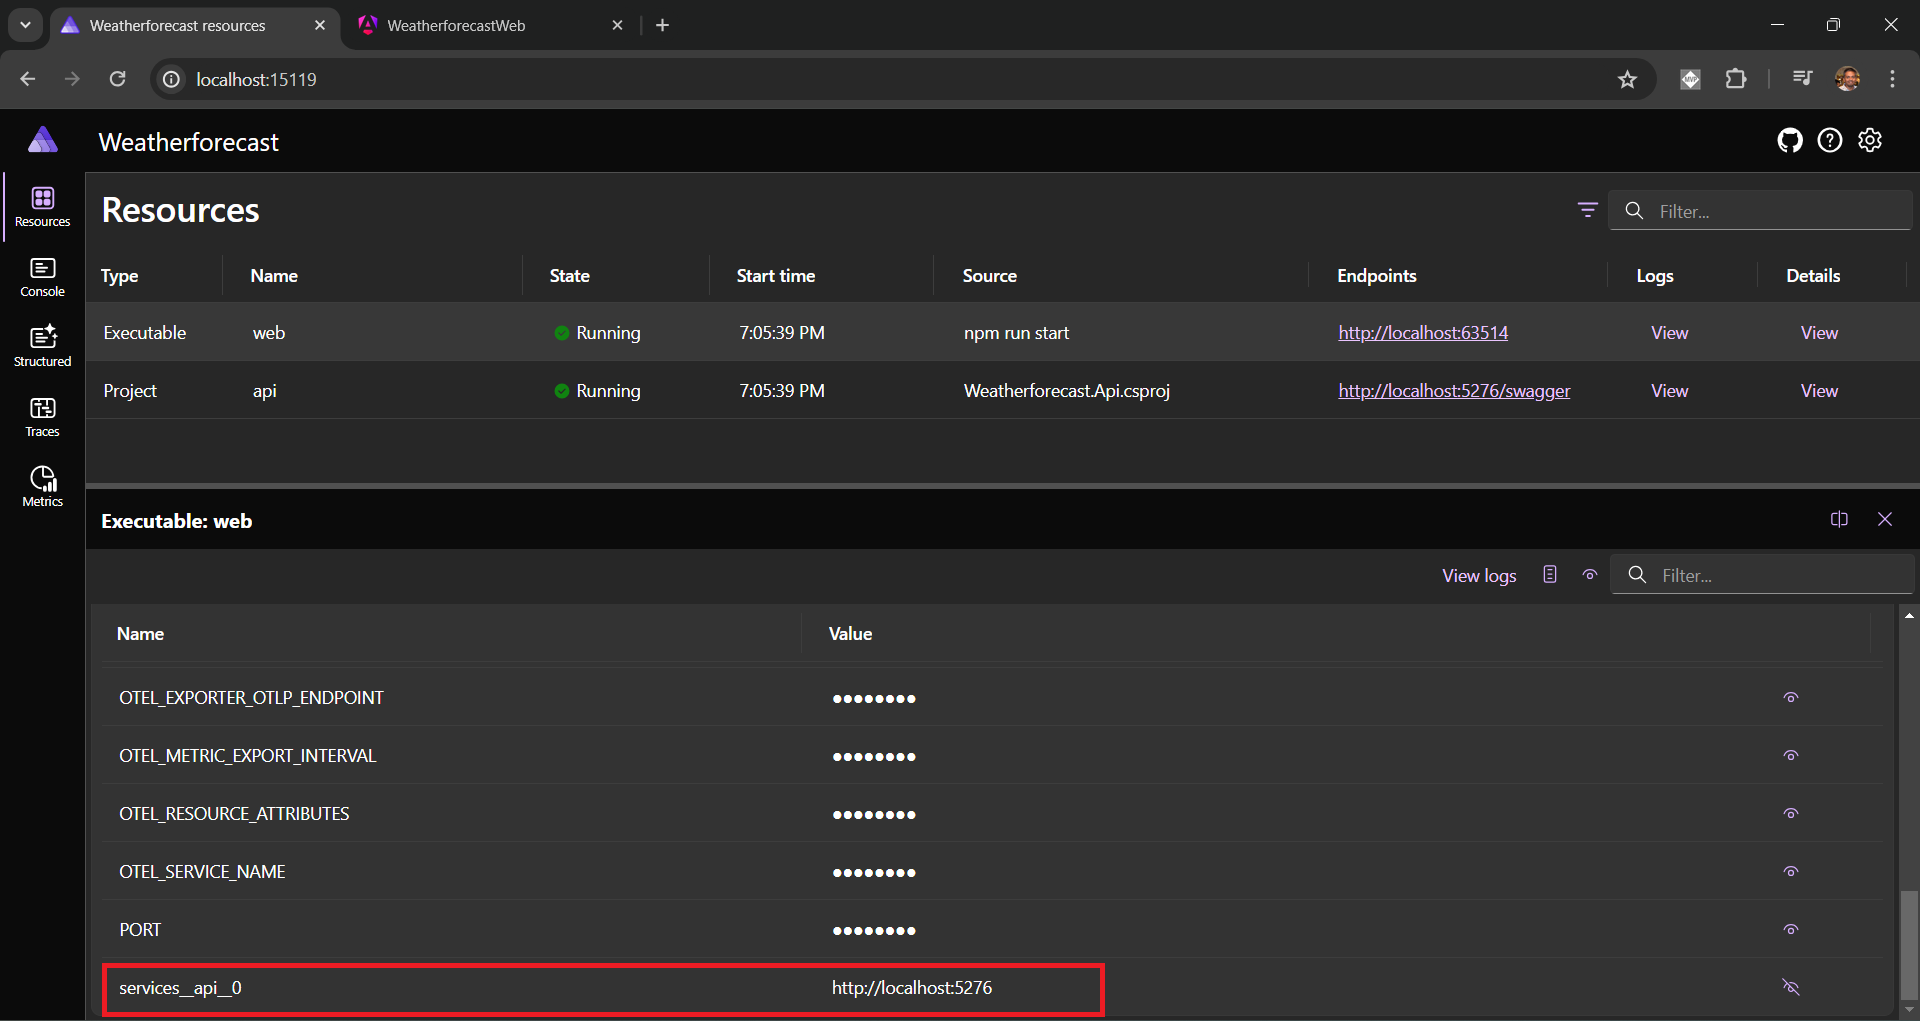
Here is the code.
module.exports = {
    '/api': {
        target: process.env['services__api__0'],
        pathRewrite: {
        '^/api': '',
        },
    }
};
We need to configure the proxy.conf.js in the Angular.json file like this.
"defaultConfiguration": "development",
"options": {
    "proxyConfig": "proxy.conf.js"
}
Without this configuration change the app may not able to interact with the API. Next we can modify the app.component.ts like this.
import { Component } from '@angular/core';
import { CommonModule } from '@angular/common';
import { RouterOutlet } from '@angular/router';
import { HttpClient } from '@angular/common/http';

@Component({
  selector: 'app-root',
  standalone: true,
  imports: [CommonModule, RouterOutlet],
  templateUrl: './app.component.html',
  styleUrl: './app.component.css'
})
export class AppComponent {
  title = 'Weatherforecast.Web';
  constructor(httpClient: HttpClient) {
    httpClient.get('api/WeatherForecast').subscribe(result => {
      console.log(result);
    }, error => console.error(error));
  }
}
This code will fetch data from the ASP.NET Core Web API and display the data in Angular web app. We may need to update the app.config.ts file and configure Angular HttpClient, like this.
import { ApplicationConfig } from '@angular/core';
import { provideRouter } from '@angular/router';
import { routes } from './app.routes';
import { provideHttpClient } from '@angular/common/http';
export const appConfig: ApplicationConfig = {
providers: [provideRouter(routes), provideHttpClient()]
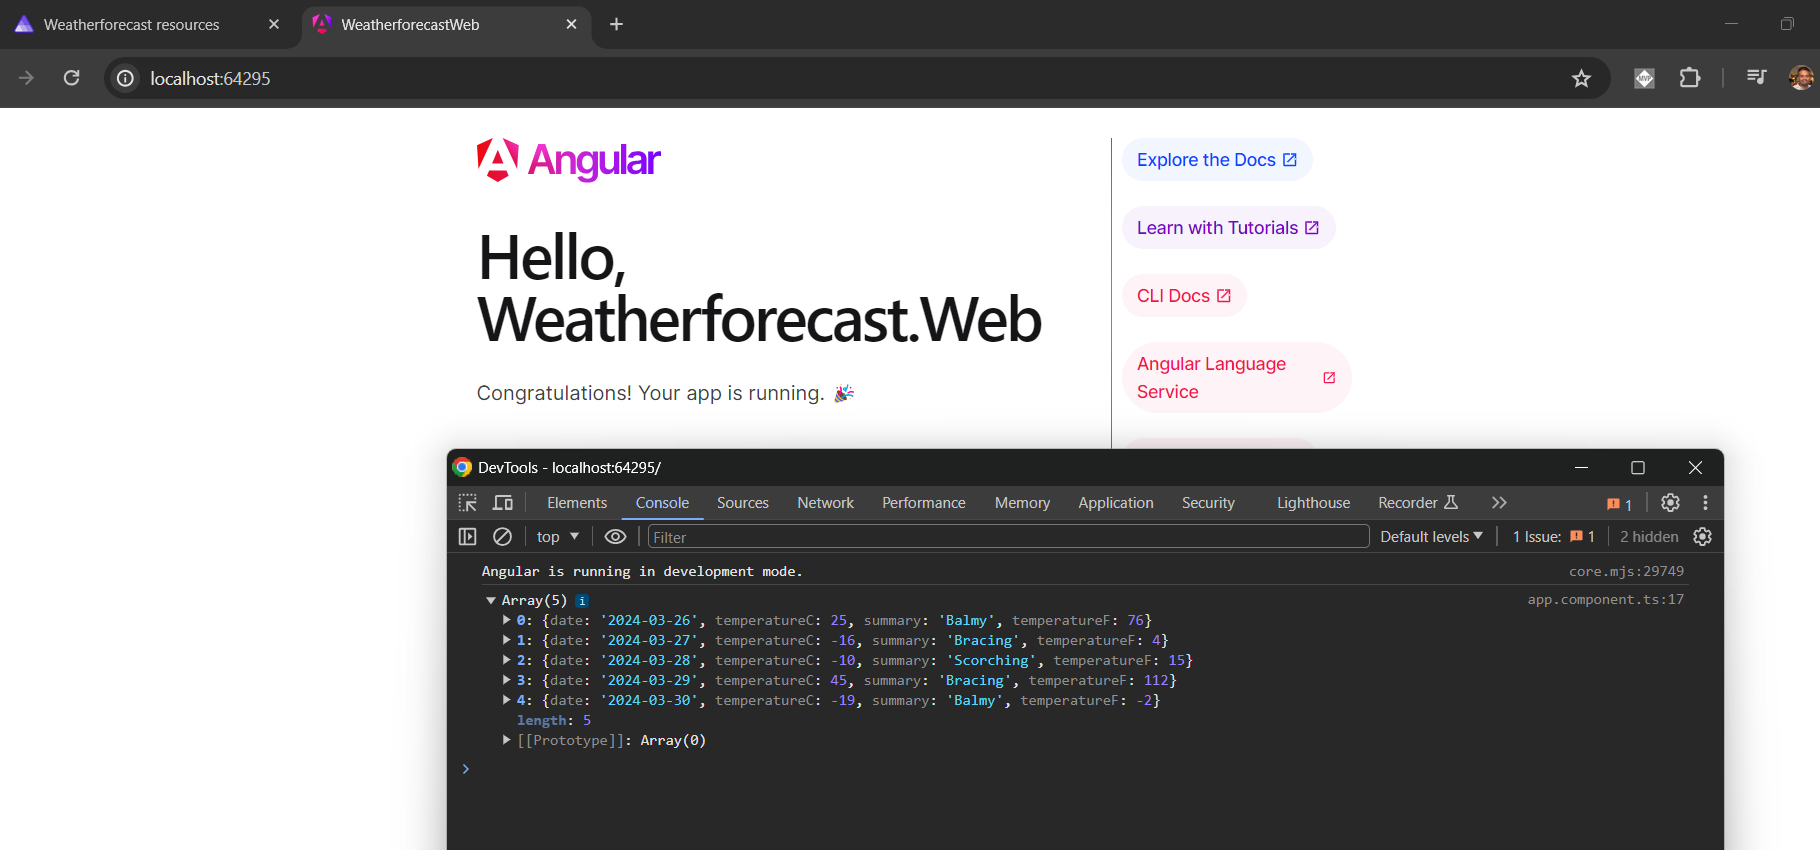
};Here is the screenshot of the application running - which fetches the Weatherforecast information from API and print it in console.
This way we can implement Angular Single Page application as UI components in .NET Aspire Framework.
Happy Programming
If you find my content helpful, consider supporting my work. Your support helps me continue creating valuable resources for the community.

Found this useful? Share it with your network!
Copyright © 2026 Anuraj. Blog content licensed under the Creative Commons CC BY 2.5 | Unless otherwise stated or granted, code samples licensed under the MIT license. This is a personal blog. The opinions expressed here represent my own and not those of my employer. Powered by Jekyll. Hosted with ❤ by GitHub