Installing Az Powershell module on Mac
February 03, 2020 by Anuraj
azure powershell
This post is about installing Azure Powershell module on Mac. Recently I started configuring one Mac book air as my development machine. So I installed dotnet core 3.1 on the machine. Today, to explore some Azure Powershell commands, I had to install Az command module. When I tried I found lot of blog posts using Brew package manager. And I found one Microsoft documentation on installing PowerShell Core using dotnet command.
So to install Az Module, first you need to install the PowerShell core. You can do this by running following command - it is a dotnet command - I am assuming dotnet SDK already installed on your machine.
dotnet tool install --global PowerShell
The installation might take few minutes.
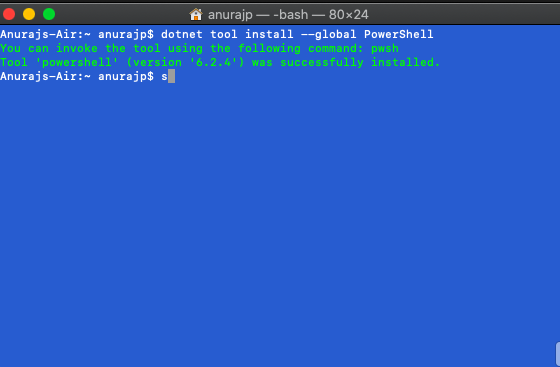
Once installed you can access the PowerShell command line using pwsh command.
Next you need to install the Az module. From the PowerShell command line you can execute the following command to install the Az PowerShell module.
Install-Module -Name Az -AllowClobber -Scope CurrentUser
This command will download and install Az powershell module. Similar to Windows, there will be a security prompt, you need to provide either Y or A to install the module.
This command will also take some time to install the module. Once installed you can execute Az commands, like Connect-AzAccount to connect your Azure Subscription.
Happy Programming :)
If you find my content helpful, consider supporting my work. Your support helps me continue creating valuable resources for the community.

Found this useful? Share it with your network!
Copyright © 2026 Anuraj. Blog content licensed under the Creative Commons CC BY 2.5 | Unless otherwise stated or granted, code samples licensed under the MIT license. This is a personal blog. The opinions expressed here represent my own and not those of my employer. Powered by Jekyll. Hosted with ❤ by GitHub