Introducing Azure Load Testing
April 17, 2022 by Anuraj
Azure LoadTesting Performance
This post is about Azure Load Testing - Azure Load Testing is a fully managed Azure service that enables developers and testers to generate high-scale load with custom Apache JMeter scripts and gain actionable insights to catch and fix performance bottlenecks at scale. In this post I will explain how to get create an Azure Load Testing resource and execute it with Azure portal. Azure Load Testing helps us to execute Apache JMeter Tests - I already created one using Apache JMeter - You can checkout this blog post on how to create one.
First we need to create Azure Load Testing Resource. Click on New Resource button, then search for Azure Load Testing. In the Market Place, click on the Azure Load Testing (Preview) option.
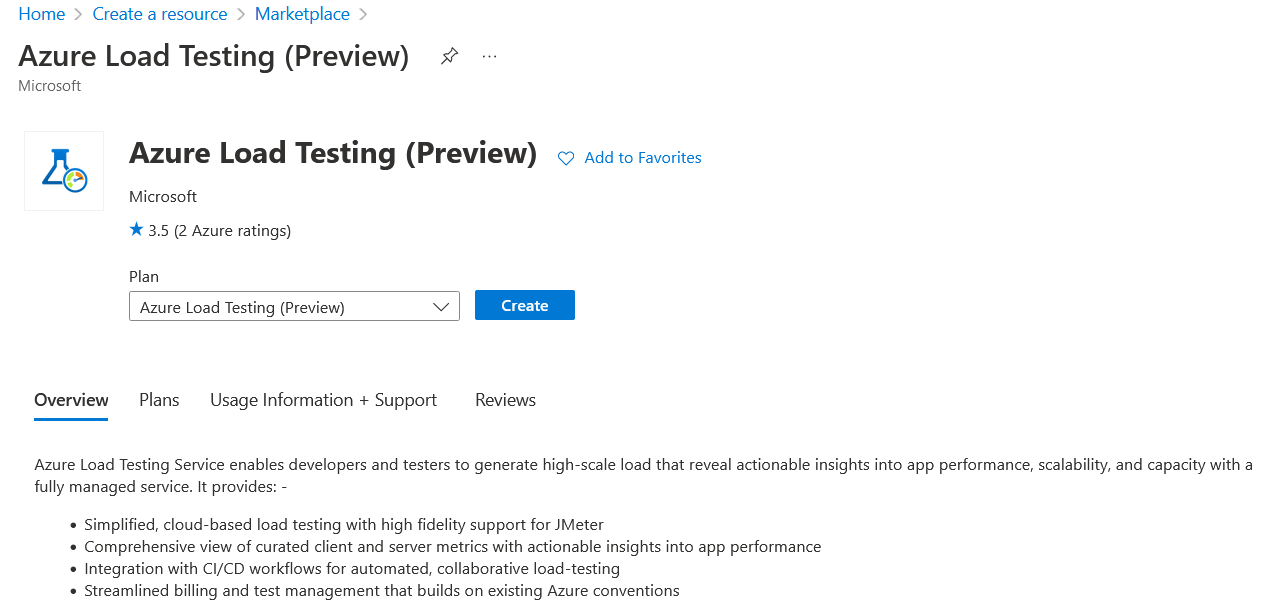
Click on the Create button. In the next screen we need to provide the resource group, name and region.
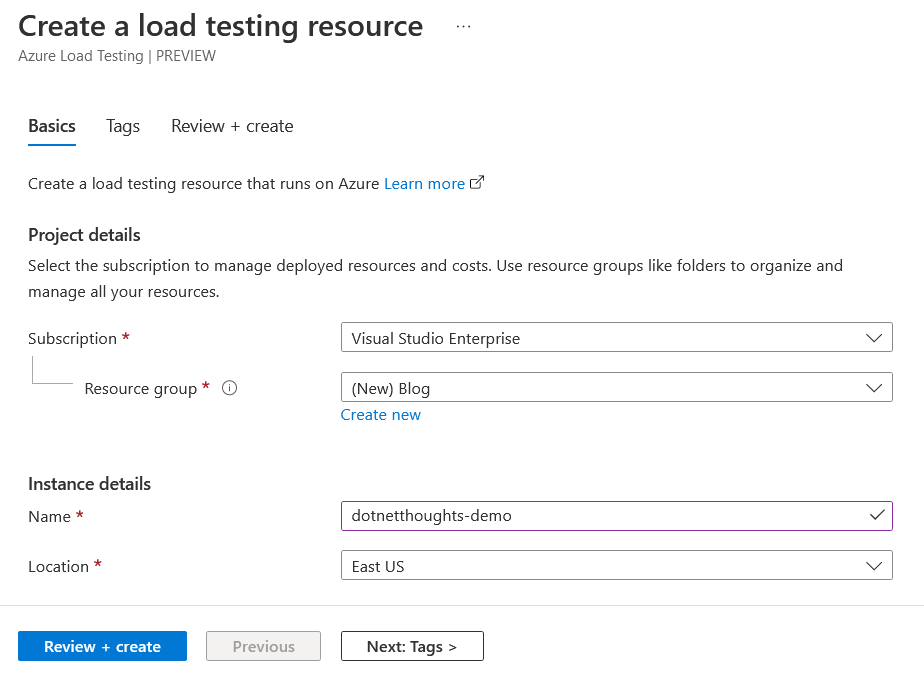
Then click on the Review + Create button to create the resource. This might take few seconds. Once it is done, we will get a screen like this.
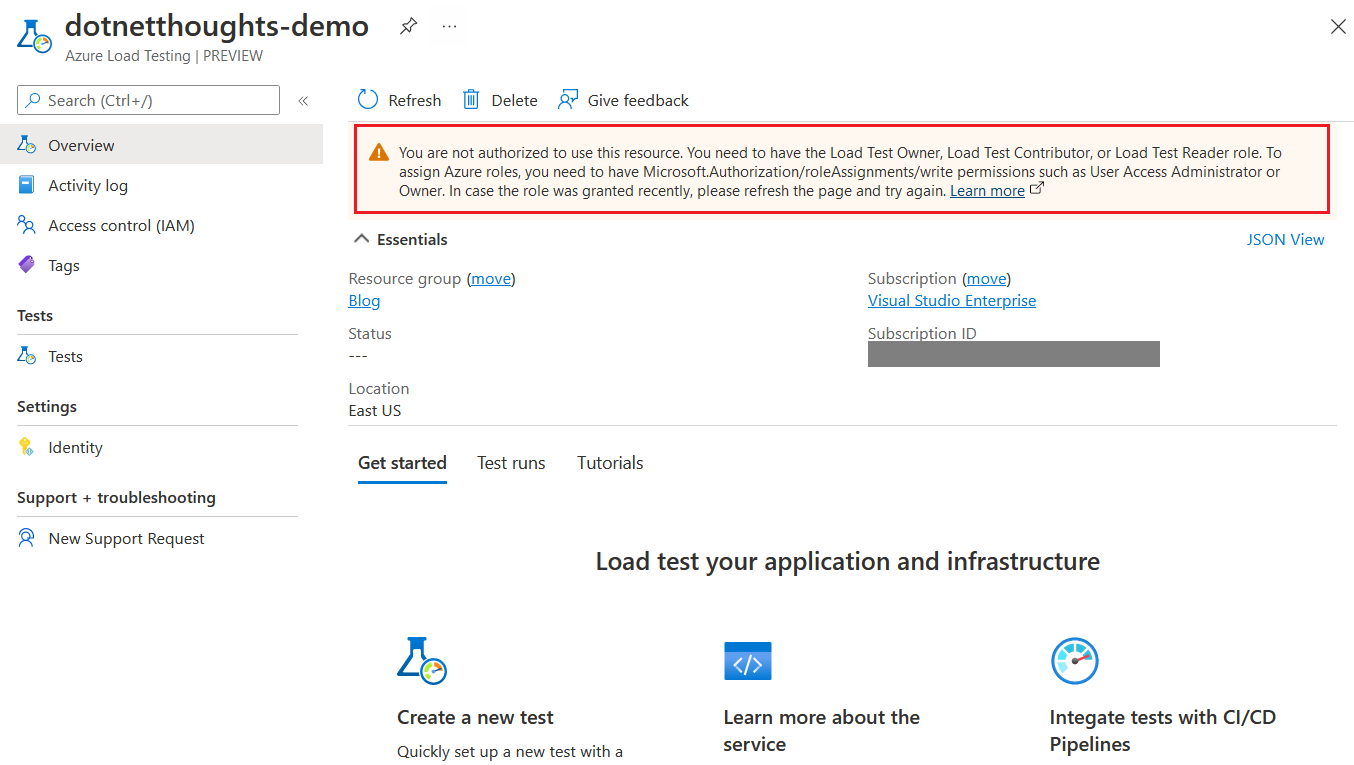
If you notice there is a warning - You are not authorized to use this resource. You need to have the Load Test Owner, Load Test Contributor, or Load Test Reader role. To assign Azure roles, you need to have Microsoft.Authorization/roleAssignments/write permissions such as User Access Administrator or Owner. In case the role was granted recently, please refresh the page and try again. - Even if we are creating it from Global Administrator we need to set these roles explicitly to our account - without this we can’t create load tests. To do this click on Access control (IAM). Then click on the + Add button, choose Add role assignment option.

In the screen choose any of the role mentioned in the warning. I am choosing Load Test Owner. Click on the Next button, choose your username. Then click on the Review + Assign button. Once it is done, go back to the overview page and the warning will be hidden. If you still see the warning, you can refresh the page.
Once the warning is gone, you can click on the Create button under the Create a new test section. In the Create Test screen we need set the name for the test. Click on the Next: Test Plan button. In this screen we need to upload the JMeter file. As I mentioned earlier I already created one, and I am uploading it.
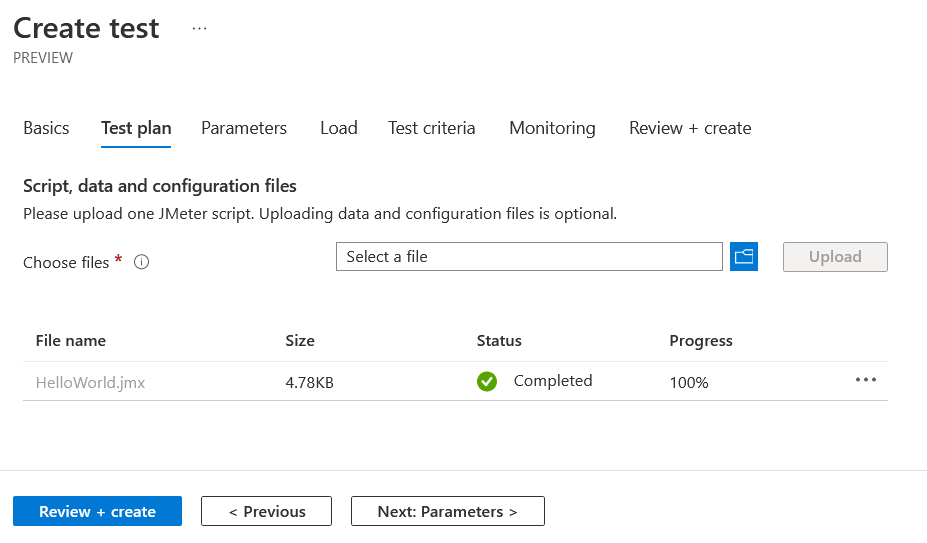
Click on the Review + Create - All the other configuration values I am accepting as default ones. Since I choose the option Run Test after creation - it will start executing the tests. Once the execution finished we will be able to see a screen like this.
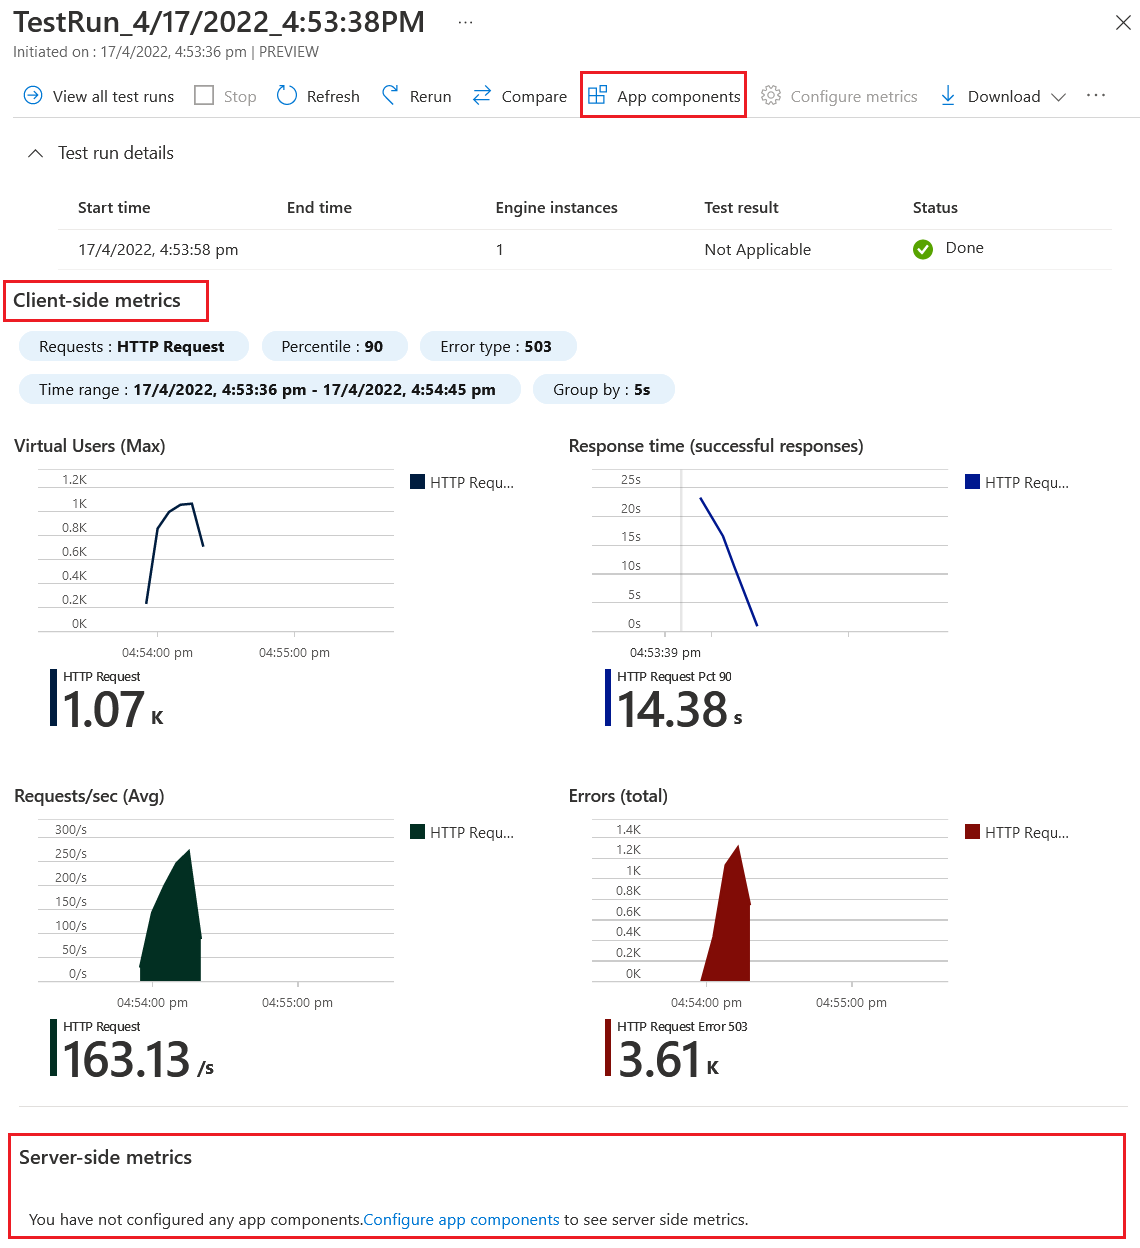
If you notice it is showing only client side metrics, to get the server side metrics we need to configure the App Components - If you’re testing an Azure App Service, you can choose it and you can select the Application Insights component and App Service Plan as well. It will update the test run with details like response time, requests, HTTP 5xx Errors, CPU and Memory Percentage values.
You can find more resources related to Azure Load testing here.
- What is Azure Load Testing Preview?
- Quickstart: Create and run a load test with Azure Load Testing Preview
- Introducing Azure Load Testing: Optimize app performance at scale
Happy Programming :)
If you find my content helpful, consider supporting my work. Your support helps me continue creating valuable resources for the community.

Found this useful? Share it with your network!
Copyright © 2026 Anuraj. Blog content licensed under the Creative Commons CC BY 2.5 | Unless otherwise stated or granted, code samples licensed under the MIT license. This is a personal blog. The opinions expressed here represent my own and not those of my employer. Powered by Jekyll. Hosted with ❤ by GitHub