Performing a security test after each deployment using OWASP ZAP and Azure DevOps
February 01, 2020 by Anuraj
azure devops owasp security
This post is about OWASP ZAP to your build / release pipeline with Azure DevOps. OWASP ZAP is an open-source web application security scanner. It is intended to be used by both those new to application security as well as professional penetration testers.
In this post I am creating a build pipeline which is scheduled to run every week. And the pipeline will run OWASP ZAP against the application and generate results. This results will converted to XUnit format XML and displayed as part of test results in the build results.
Here is the screenshot of the DevOps pipeline.

And here is the YAML code.
pool:
name: Azure Pipelines
steps:
- task: CSE-DevOps.zap-scanner.custom-build-release-task.owaspzap@1
displayName: 'ZAP Scanner'
inputs:
scantype: targetedScan
url: 'https://dotnetthoughts.net'
- bash: |
sudo npm install -g handlebars-cmd
cat <<EOF > owaspzap/nunit-template.hbs
{{#each site}}
<test-run
id="2"
name="Owasp test"
start-time="{{../[@generated]}}" >
<test-suite
id="{{@index}}"
type="Assembly"
name="{{[@name]}}"
result="Failed"
failed="{{alerts.length}}">
<attachments>
<attachment>
<filePath>owaspzap/report.html</filePath>
</attachment>
</attachments>
{{#each alerts}}<test-case
id="{{@index}}"
name="{{alert}}"
result="Failed"
fullname="{{alert}}"
time="1">
<failure>
<message>
<![CDATA[{{{desc}}}]]>
</message>
<stack-trace>
<![CDATA[
Solution:
{{{solution}}}
Reference:
{{{reference}}}
instances:{{#each instances}}
* {{uri}}
- {{method}}
{{#if evidence}}- {{{evidence}}}{{/if}}
{{/each}}]]>
</stack-trace>
</failure>
</test-case>
{{/each}}
</test-suite>
</test-run>
{{/each}}
displayName: 'owasp nunit template'
- bash: 'handlebars owaspzap/report.json <owaspzap/nunit-template.hbs> owaspzap/test-results.xml'
displayName: 'Bash Script'
- task: PublishTestResults@2
displayName: 'Publish Test Results owaspzap/test-results.xml'
inputs:
testResultsFormat: NUnit
testResultsFiles: 'owaspzap/test-results.xml'
- task: CopyFiles@2
displayName: 'Copy Files to: $(Build.ArtifactStagingDirectory)'
inputs:
SourceFolder: owaspzap/
TargetFolder: '$(Build.ArtifactStagingDirectory)'
- task: PublishBuildArtifacts@1
displayName: 'Publish Artifact: zap-scanner-reports'
inputs:
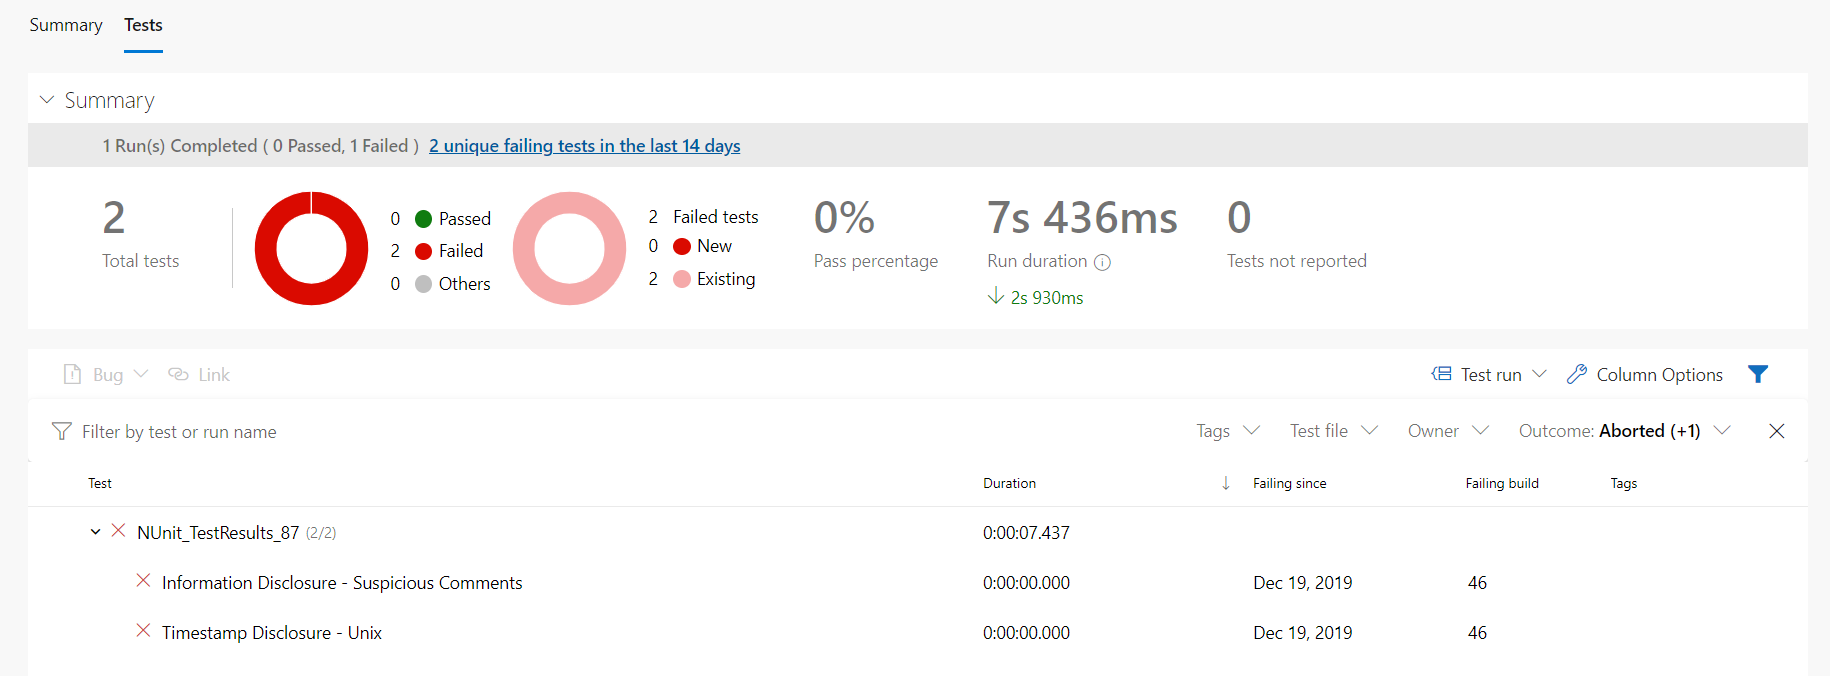
ArtifactName: 'zap-scanner-reports'And here is the test results from the build pipeline.
There is lot options you can configure and control in OWAZP ZAP docker. In this post I am using standard ZAP options. You can do a complete ZAP Scan or Quick scan depends on your project. You can find more details about ZAP docker implementation on GitHub
Happy Programming :)
If you find my content helpful, consider supporting my work. Your support helps me continue creating valuable resources for the community.

Found this useful? Share it with your network!
Copyright © 2026 Anuraj. Blog content licensed under the Creative Commons CC BY 2.5 | Unless otherwise stated or granted, code samples licensed under the MIT license. This is a personal blog. The opinions expressed here represent my own and not those of my employer. Powered by Jekyll. Hosted with ❤ by GitHub